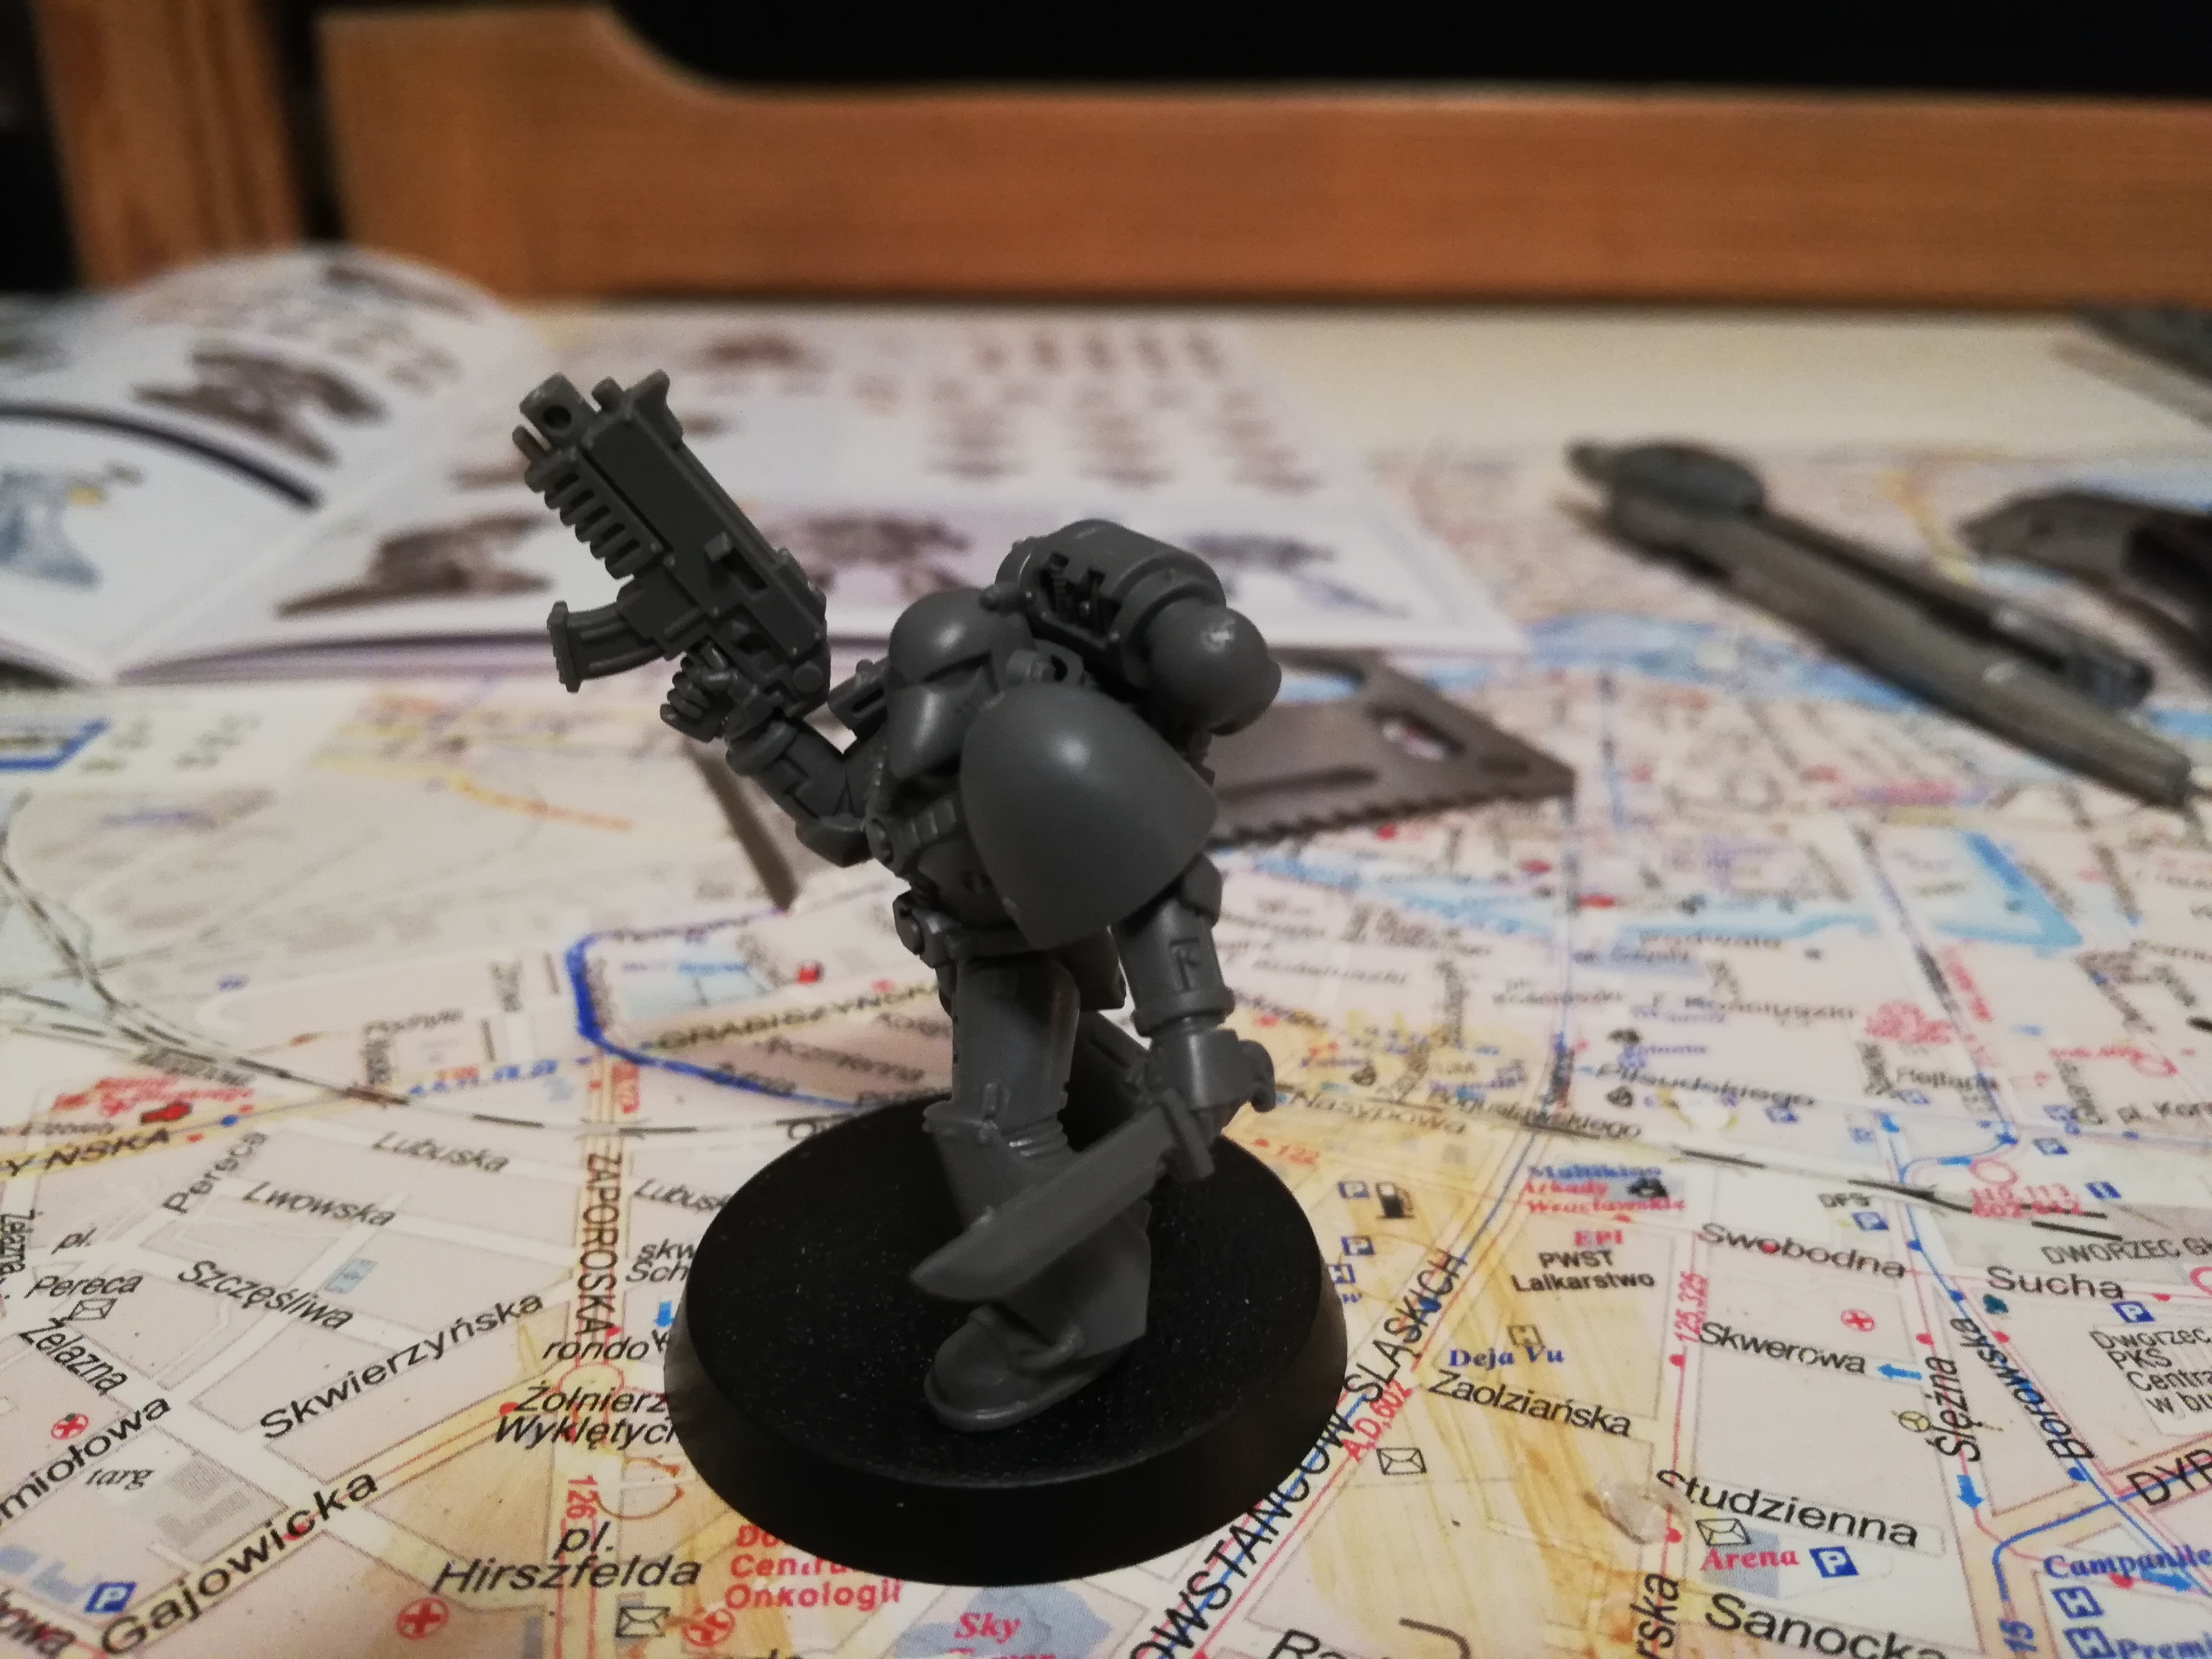
Before you can conduct the wargame or even paint your miniature, first you need to assemble it. Most miniatures do not come ready to go in the box, instead, they require you to assemble them step by step. And remember: this is not Lego! Building your miniature is much harder, but, in my opinion at least, much more rewarding.
In this article, I like to present to you how to (generally) build your figurine, step by step. Since this is going to be a general overview of the actions required to complete one, I’m not going to go into too many details. Each figurine ist different after all, especially if they come from different systems, and yet there are some universal steps that need to be taken.
(For this guide, I’m going to be assembling GW’s tactical space marine from the “Start collecting: Space Marines” box)
- Gather your stuff!
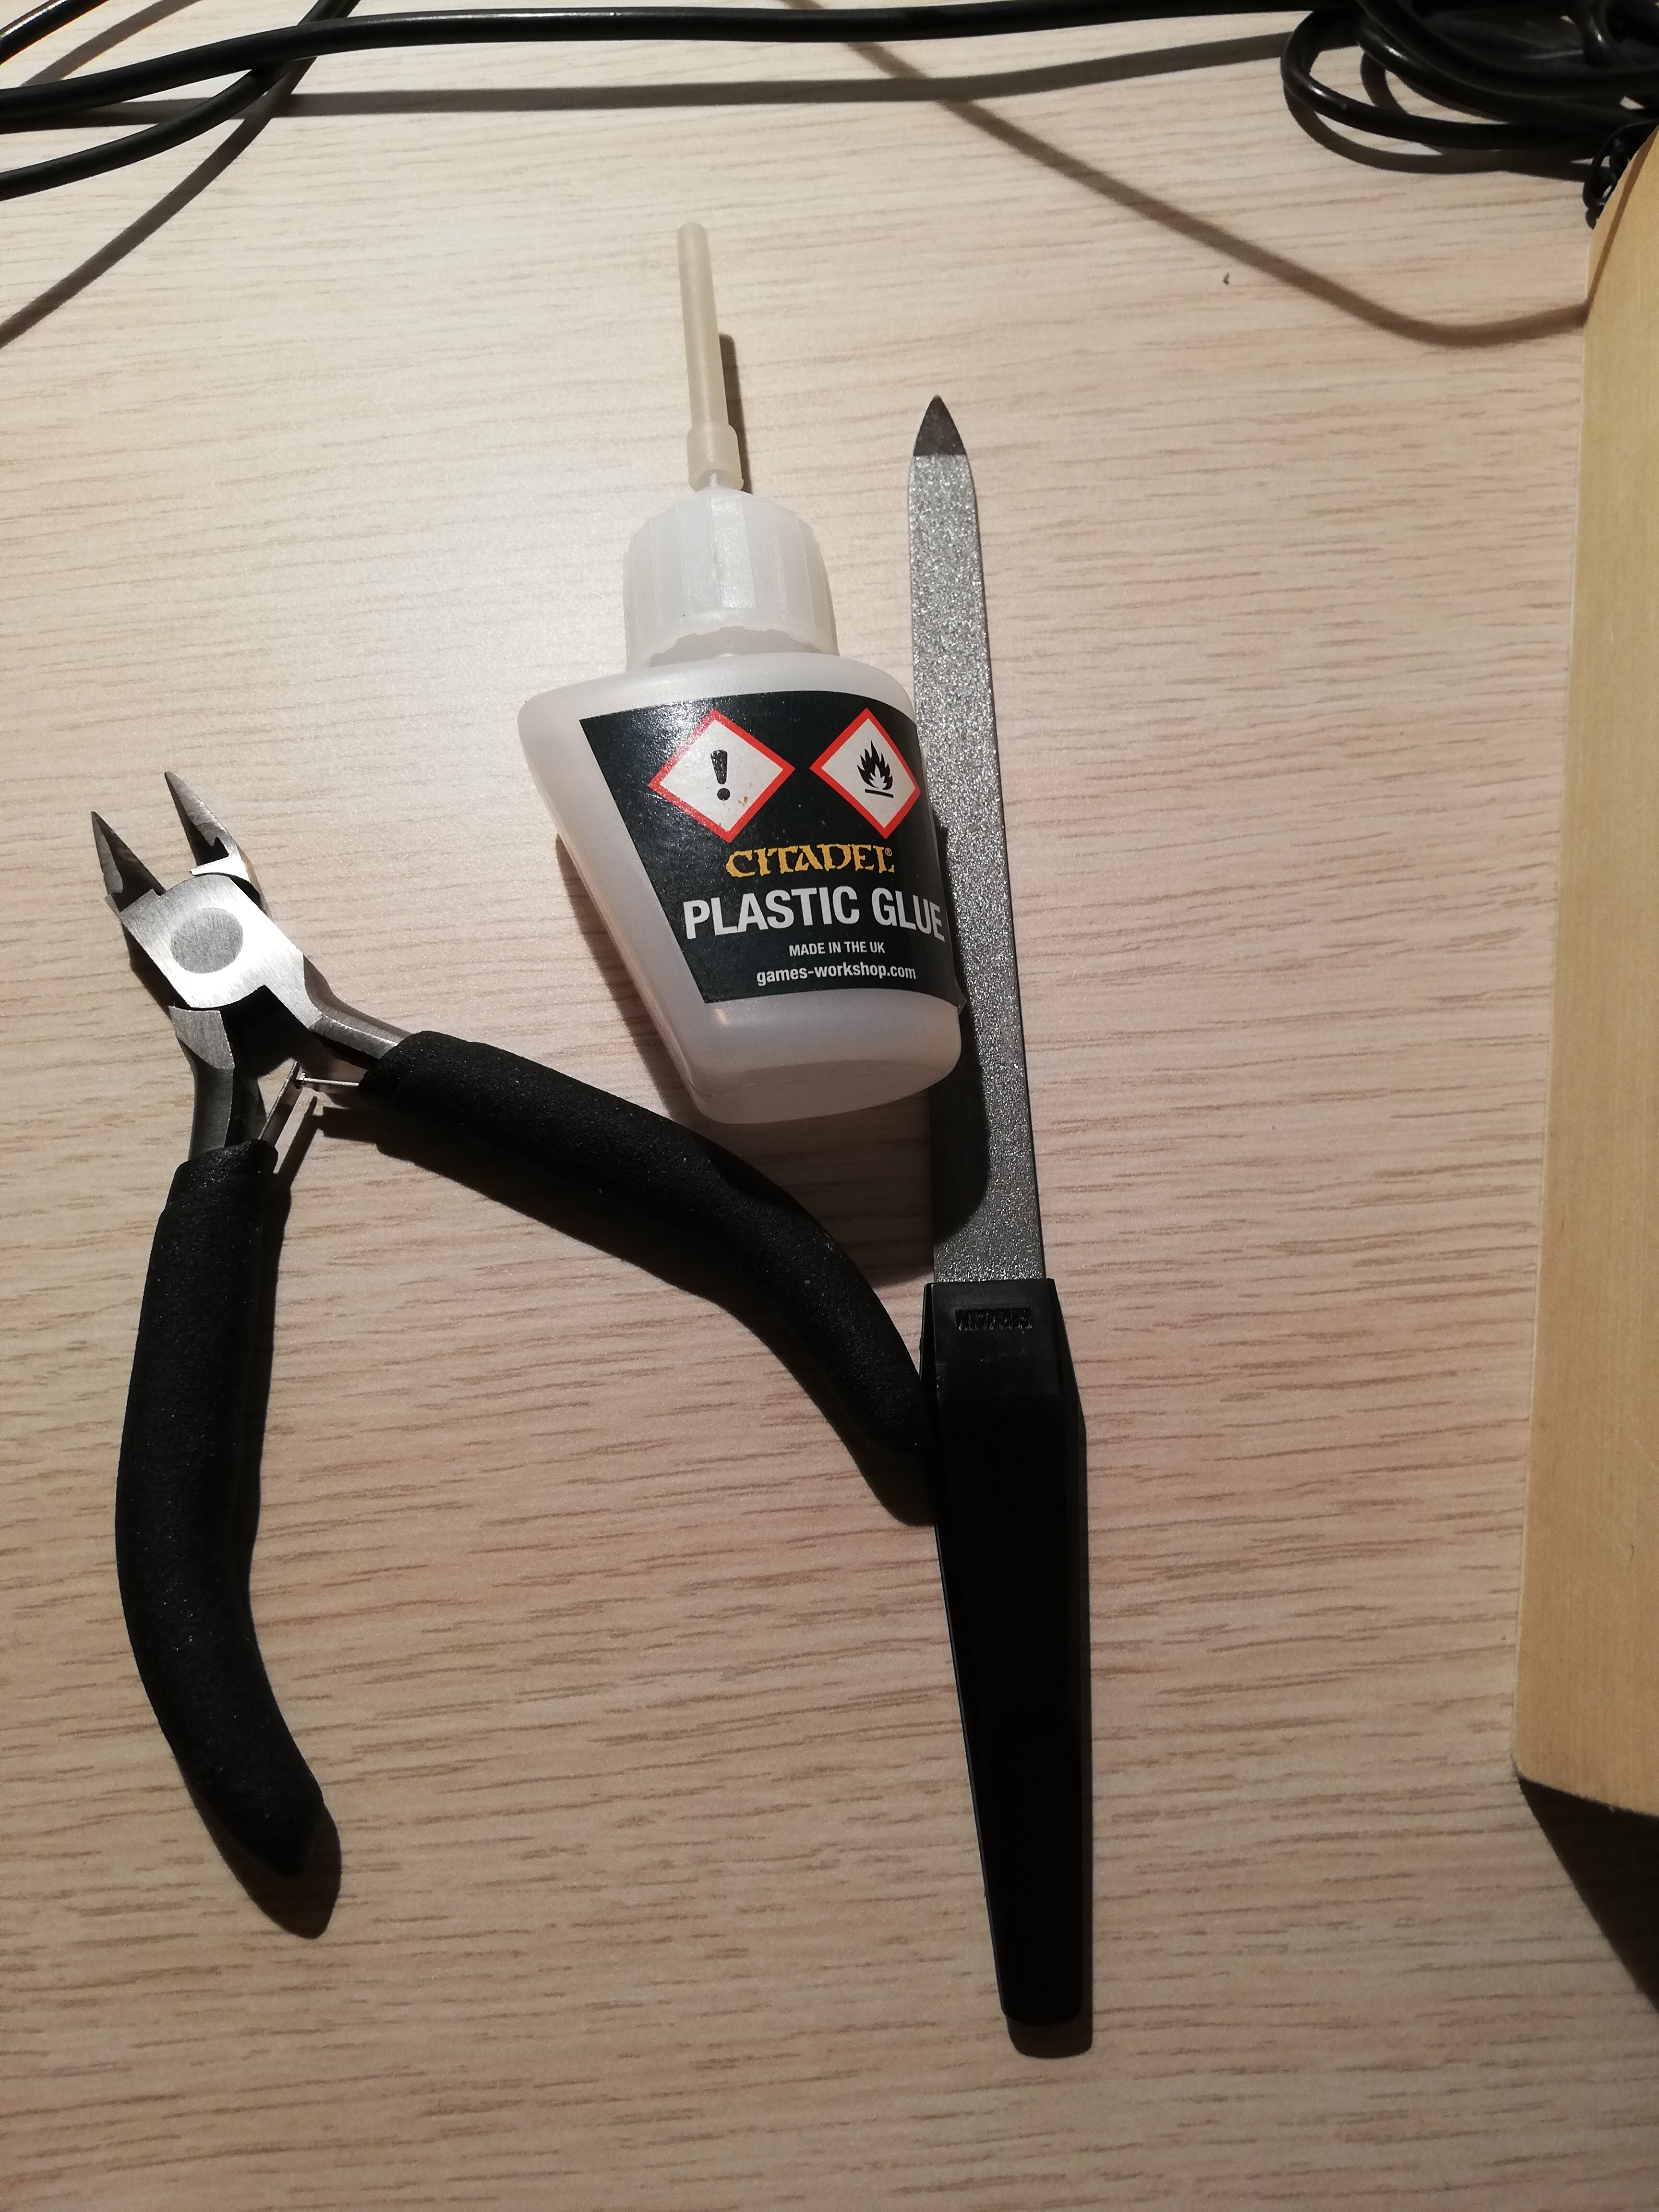
You’ll need:
- The model (obviously) - Please note that they usually come in sprues!
- A clipper - to remove the model from the sprue.
- A file or a sharp knife/mold remover - to remove any remains of the spurs and the mold lines left after the casting of the figurines (this second part I would call optional, they bother some more than others)
- Some kind of glue - Citadel Plastic Glue works best for plastic, everything else is best covered by Super Glue.
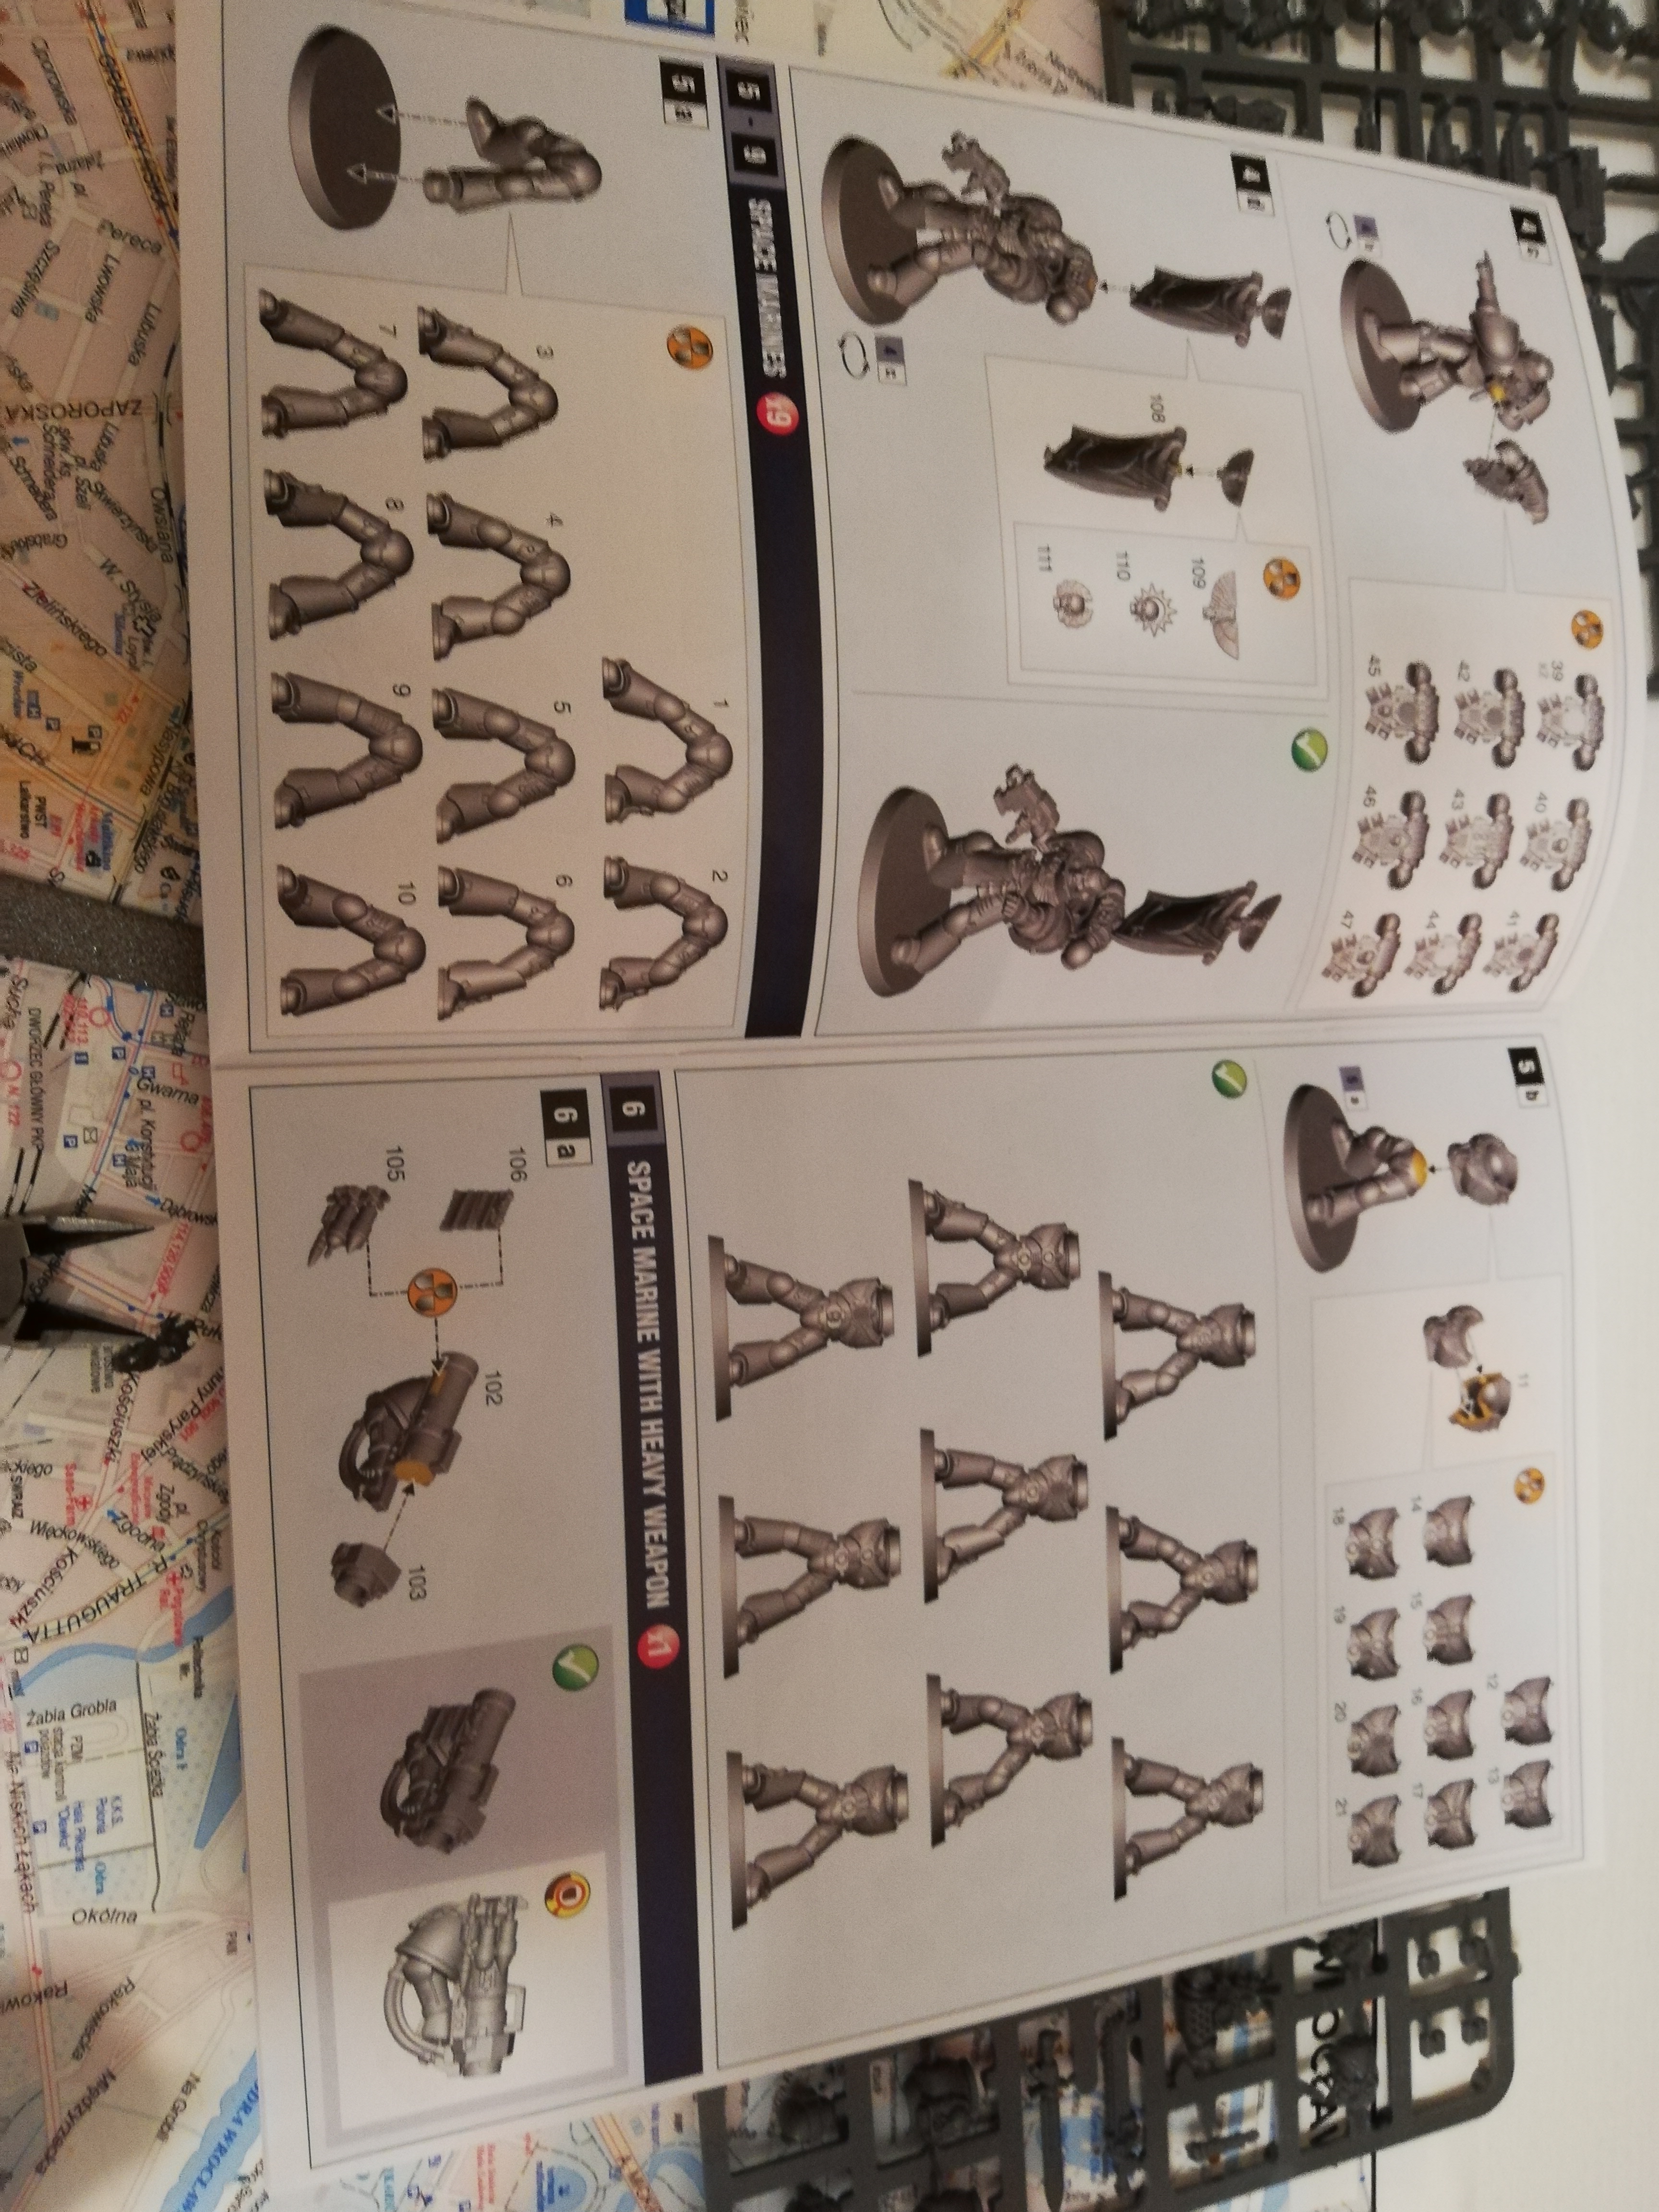
- An assembly instruction - usually comes with the model. You generally want to follow that. But don’t be afraid to get creative!
- Read the instruction carefully!
Even If you are not going to follow it 100% of the time (as I often do), it is good to acquaint yourself with how the figurine should be assembled. Also, it is likely that the parts of the figurine are listed there and knowing this will help you keep track of everything.
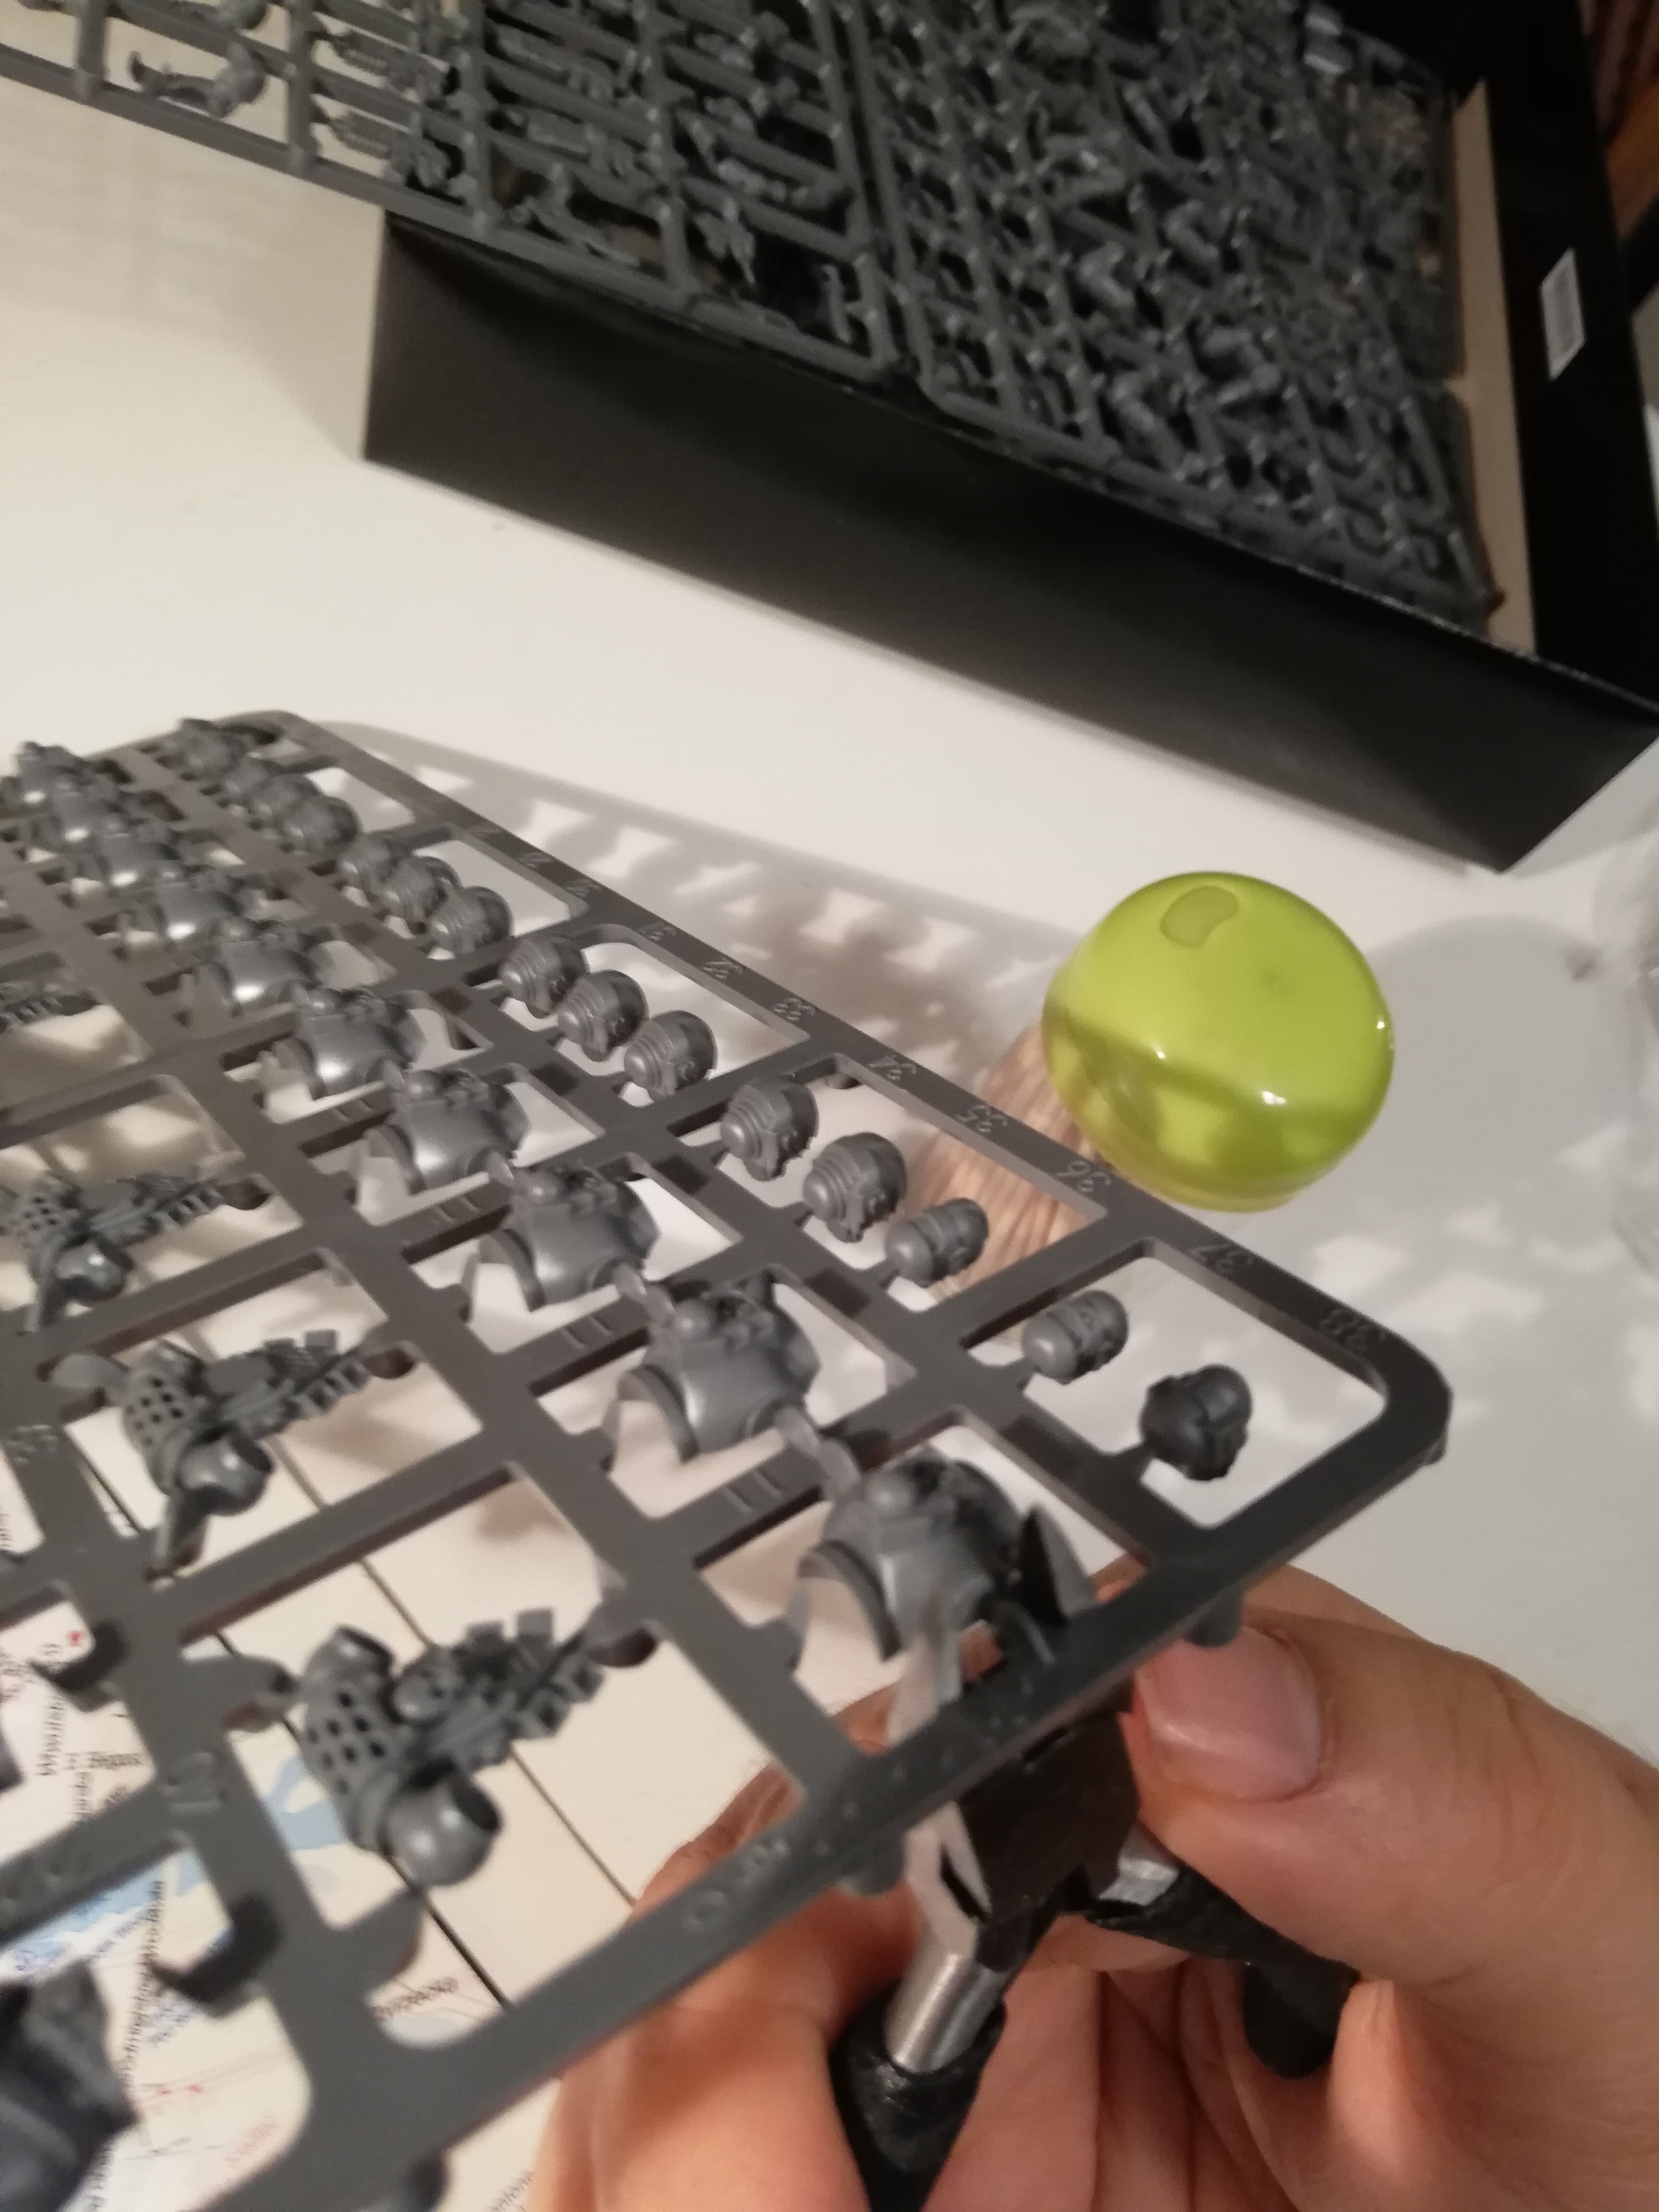
- Cut out the parts that interest you
This obviously means the parts of your figurine. Some people cut them out as they need them, whilst assembling but for a beginner, I would recommend cutting all the necessary parts upfront. Consult the instructions to get an idea about which parts you’ll need.
When cutting, try to get the flat edge of the clippers next to the part itself so there is the least amount possible of the plastic holding the part to the sprew. But there is almost always some. To remove the leftover, unwanted plastic use the file or a sharp knife. Or you can just cut it with a clipper. But be careful! You don’t want to accidentally remove some important detail on the miniature!
- Glueing the miniature together
Perhaps the most important step. Once you cut and cleaned all of the parts you should then, glue them together. I recommend starting from the bottom, that is the base of the figurine. Then work your way up by glueing legs and the torso. When using the plastic glue, be very careful not to spill any on yourself. This form of glue is basically a weak kind of oxygen activated acid and it might burn your skin. It works by melting two pieces of plastic into one. For the same reason try to be as neat with the glue on the miniature itself - if the glue spills on the places you do not want them to it is not going to look pretty.
Once you are done with the torso, most of the time all you need to glue are the arms and the head. You might want to try different poses before glueing those parts as once they are set, you won’t be able to move them any more. In the case of my marine, I had to glue the arms first as I wasn’t sure if the head wouldn’t collide with them in the position that I wanted it to be in, but you might do it the other way around, no problem.
When you are done with the main body there might be an assortment of additional details that you might want to add to your soldier, like additional bags, grenades or some icons. Check the sprue if it doesn't hold any such minor pieces and then add them to your figurine. Or don’t. It’s your choice after all.
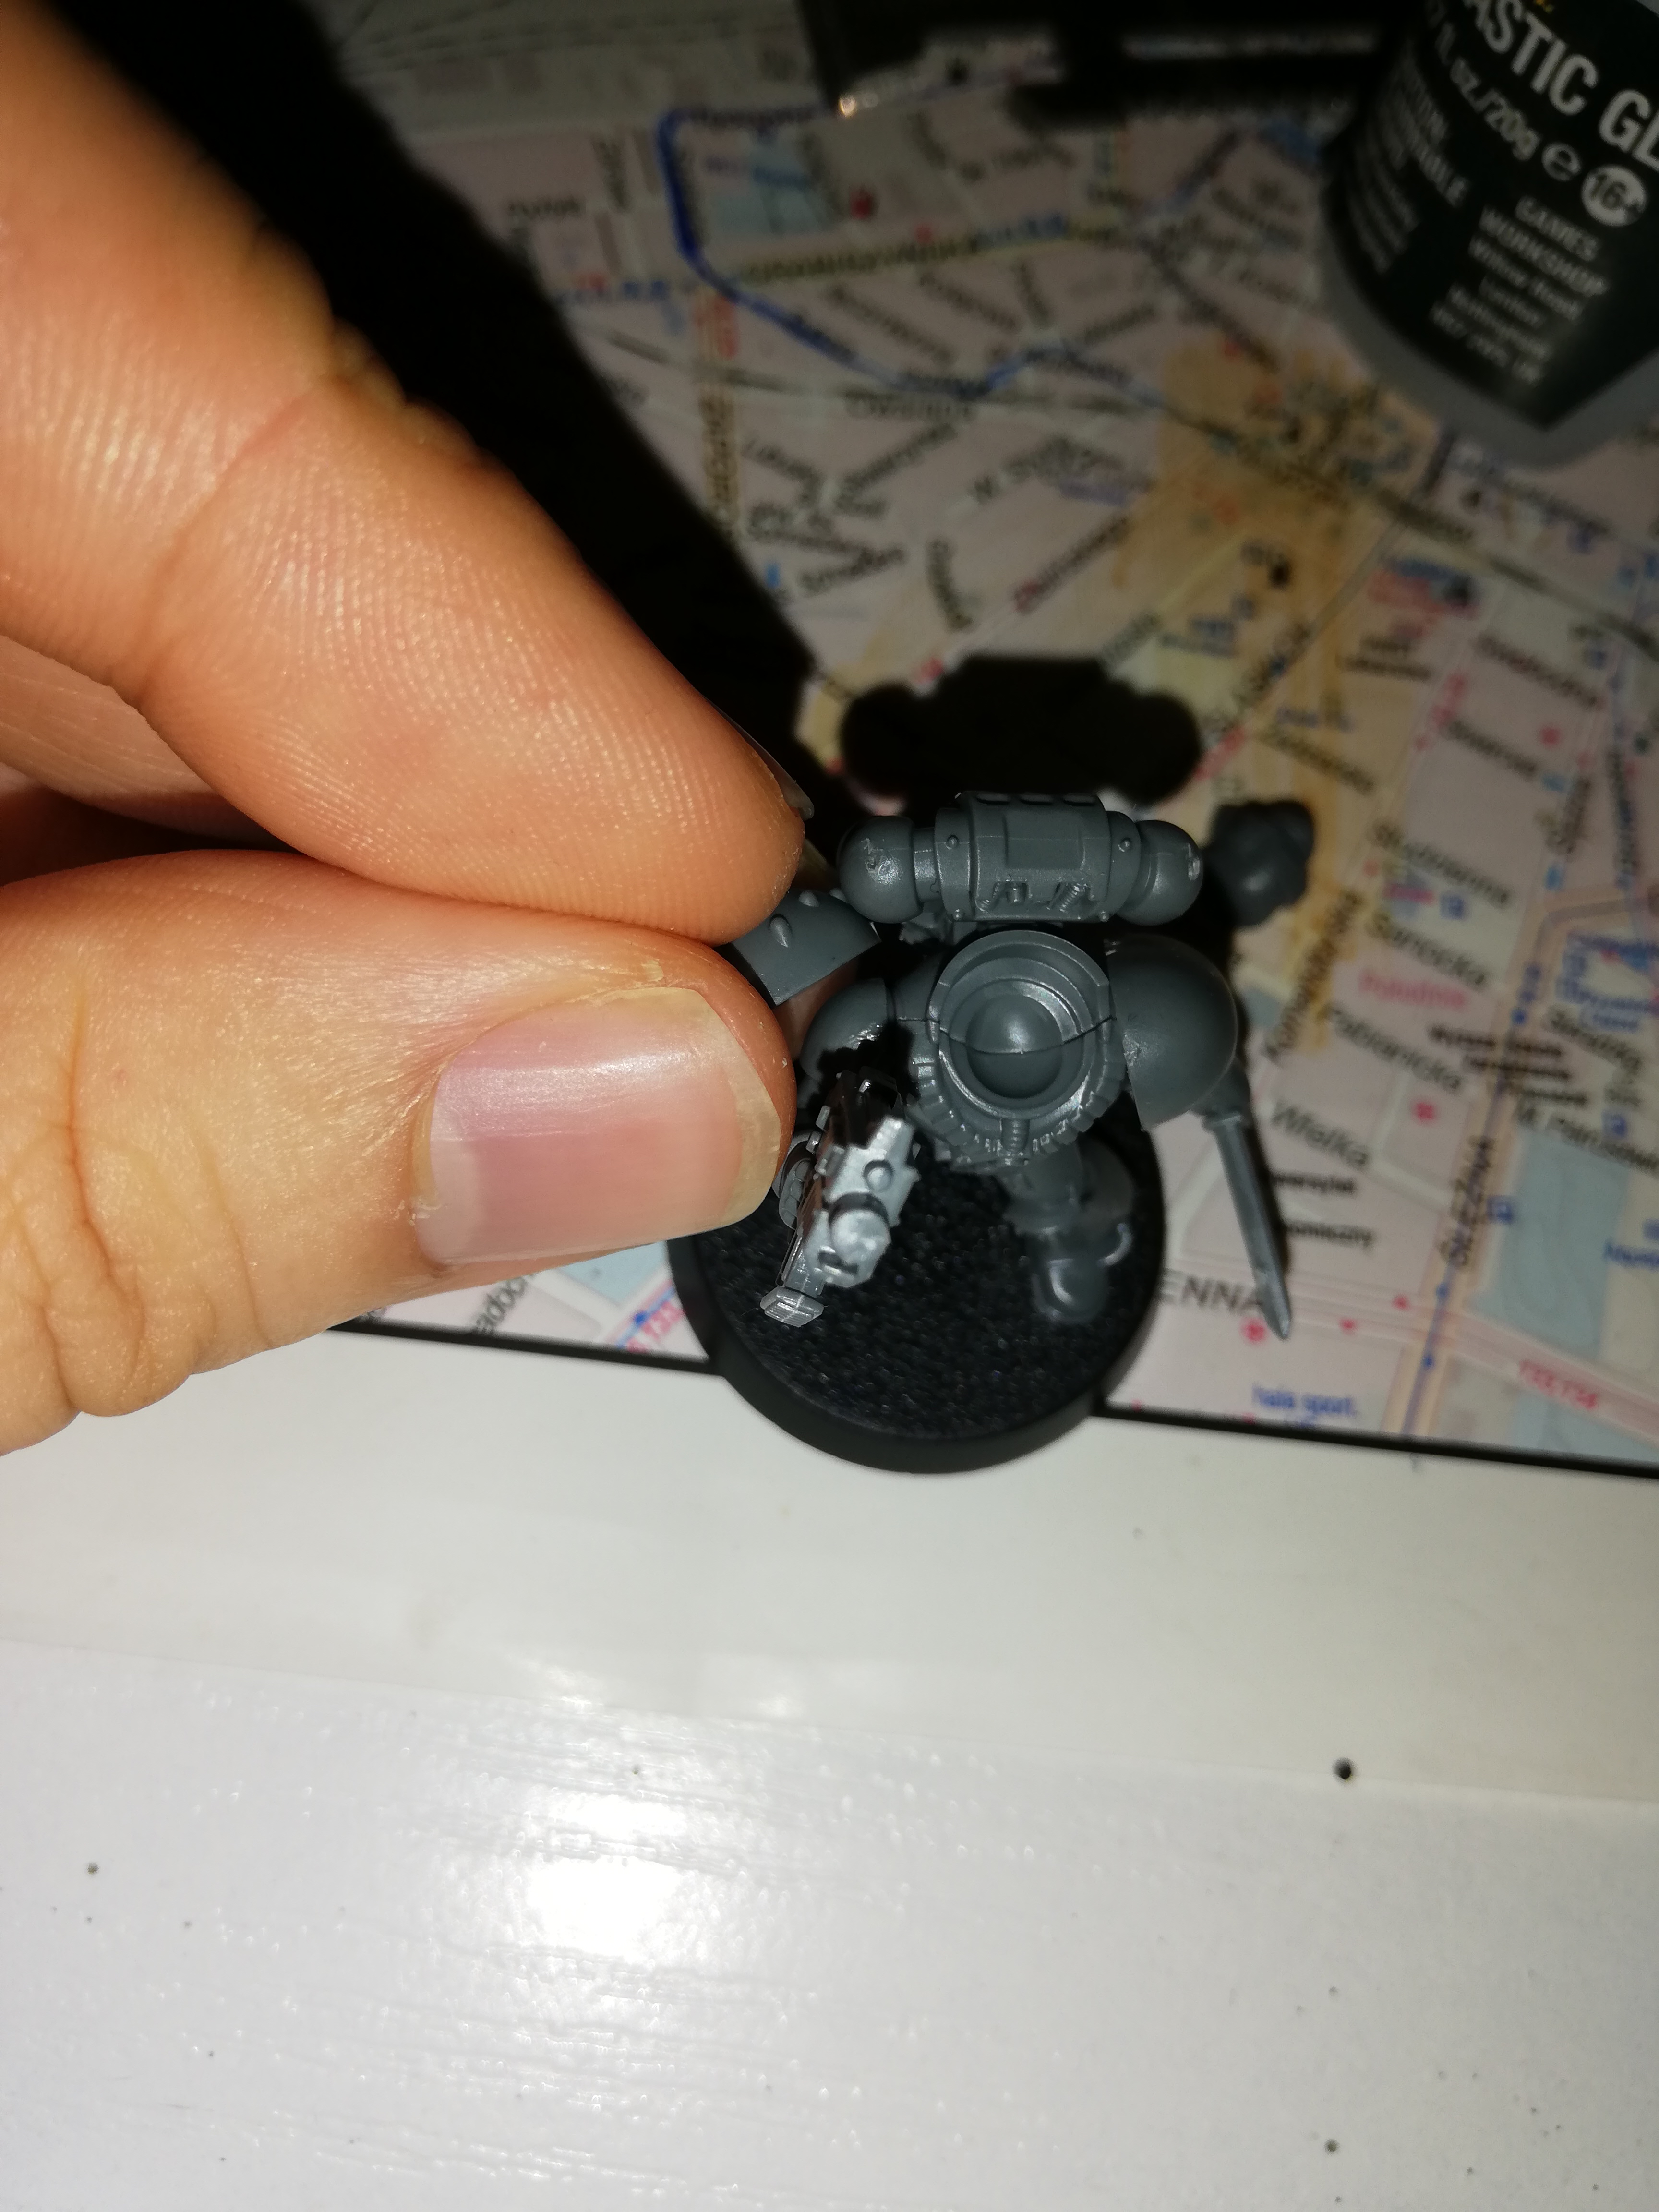
- All done!
Congratulations! You have finished your miniature, no doubt first of many. Before you finish, take a long, careful look to enjoy the good work that you have done (or find anything that you might want to fix). Your miniature is ready for painting and after that for battle!
