- Details
- Written by Mateusz Robakowski
- Category: Minature collecting
- Hits: 1132
I’ll be the first to admit that out of things that are small I’m mostly interested with models for wargaming systems. And yet, this segment is called “Miniature Collecting” so it wouldn’t be fair to focus solely on this one aspect, would it? That is why I want you to join me as I explore different forms of miniature art that people are collecting. The following article will present you with four different hobbies that obsess some people all around the globe.
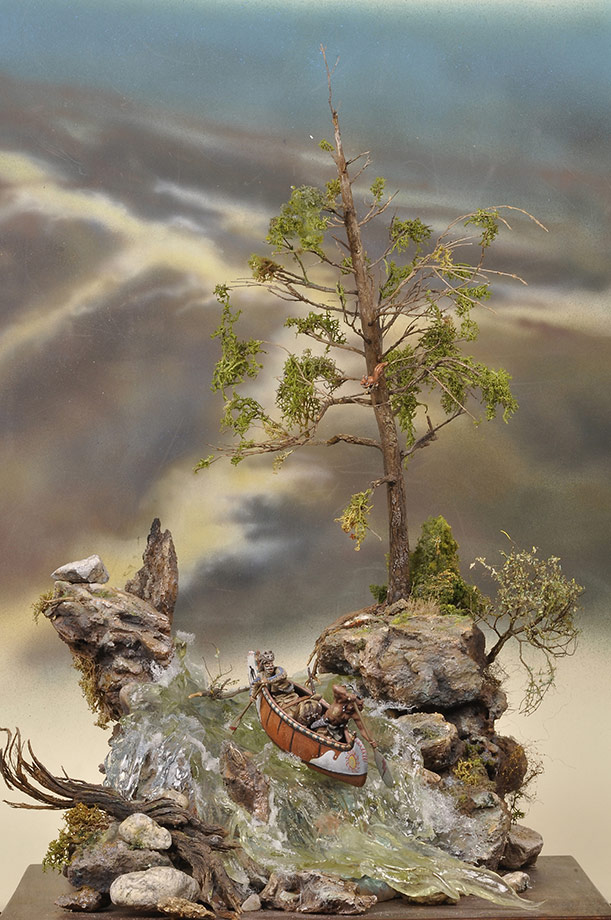
1. Diorama making
While being partly connected with model collection, the art of making dioramas is vastly more complex. Where the wargamers build single models, diorama makers create landscapes. Where the wargamers might look for a clear and pretty paint scheme, diorama makers create visual compositions or incredibly detailed recreations of real-life places, that to all honesty seem almost alive themselves.
I think it is clearly visible how much respect I have for thee people that give in to this passion. And it is not an easy one. Creating, often by hand, not only the models but also the landscape needed takes time and resources that few have. But the results are often phenomenal.
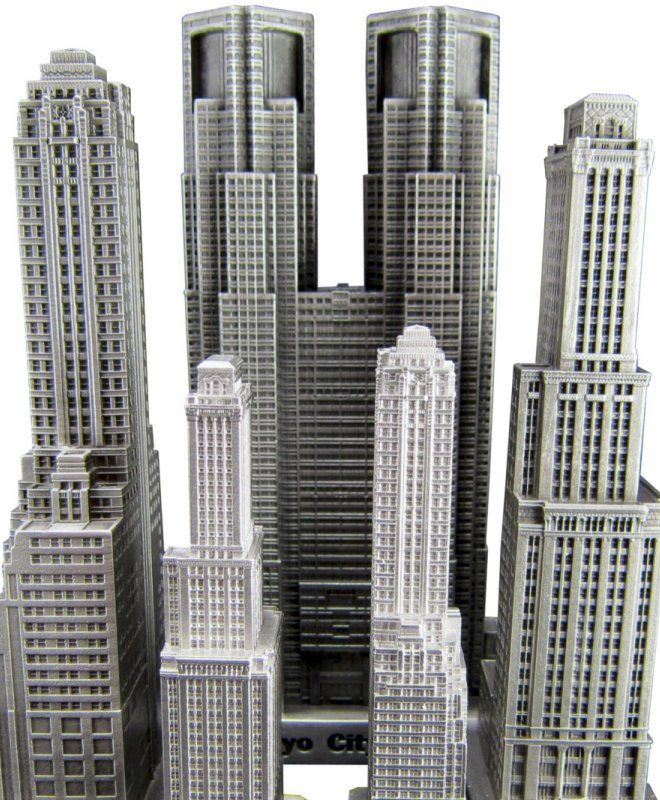
2. Miniature architecture
Again, quite similar to both dioramas and wargaming collecting, miniature architecture also deals with models, this time, however, it is almost exclusively buildings and almost exclusively real ones. Scale modelling is all about being true to reality, only on a much smaller scale. It is my guess that it must be popular with architects and architect wannabes. That being said, what they lack in imagination, they more than make up for with the attention to detail.
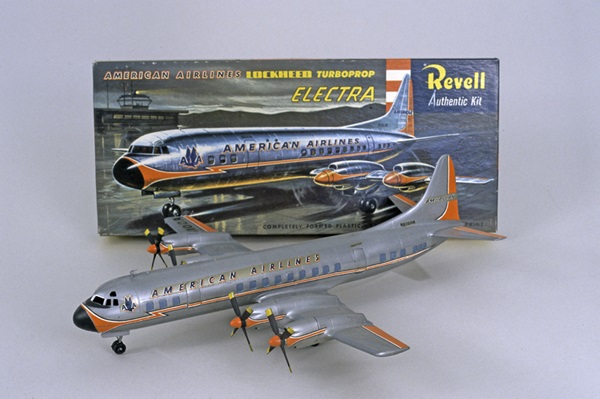
3. Scale models
The grandpa of all of the miniature hobbies, scale modelling is basically scaling down of anything that exists (if most of what exist are vehicles). Again, attention is paid more to the details and truthfulness than to imagination but it is closer to wargaming models in that it usually concerns itself with single models, not entire installations of them. This type of model collecting has been popular for almost a hundred years at least, so it is no surprise that it has been very present in the works of mass culture.
4. Bonsai
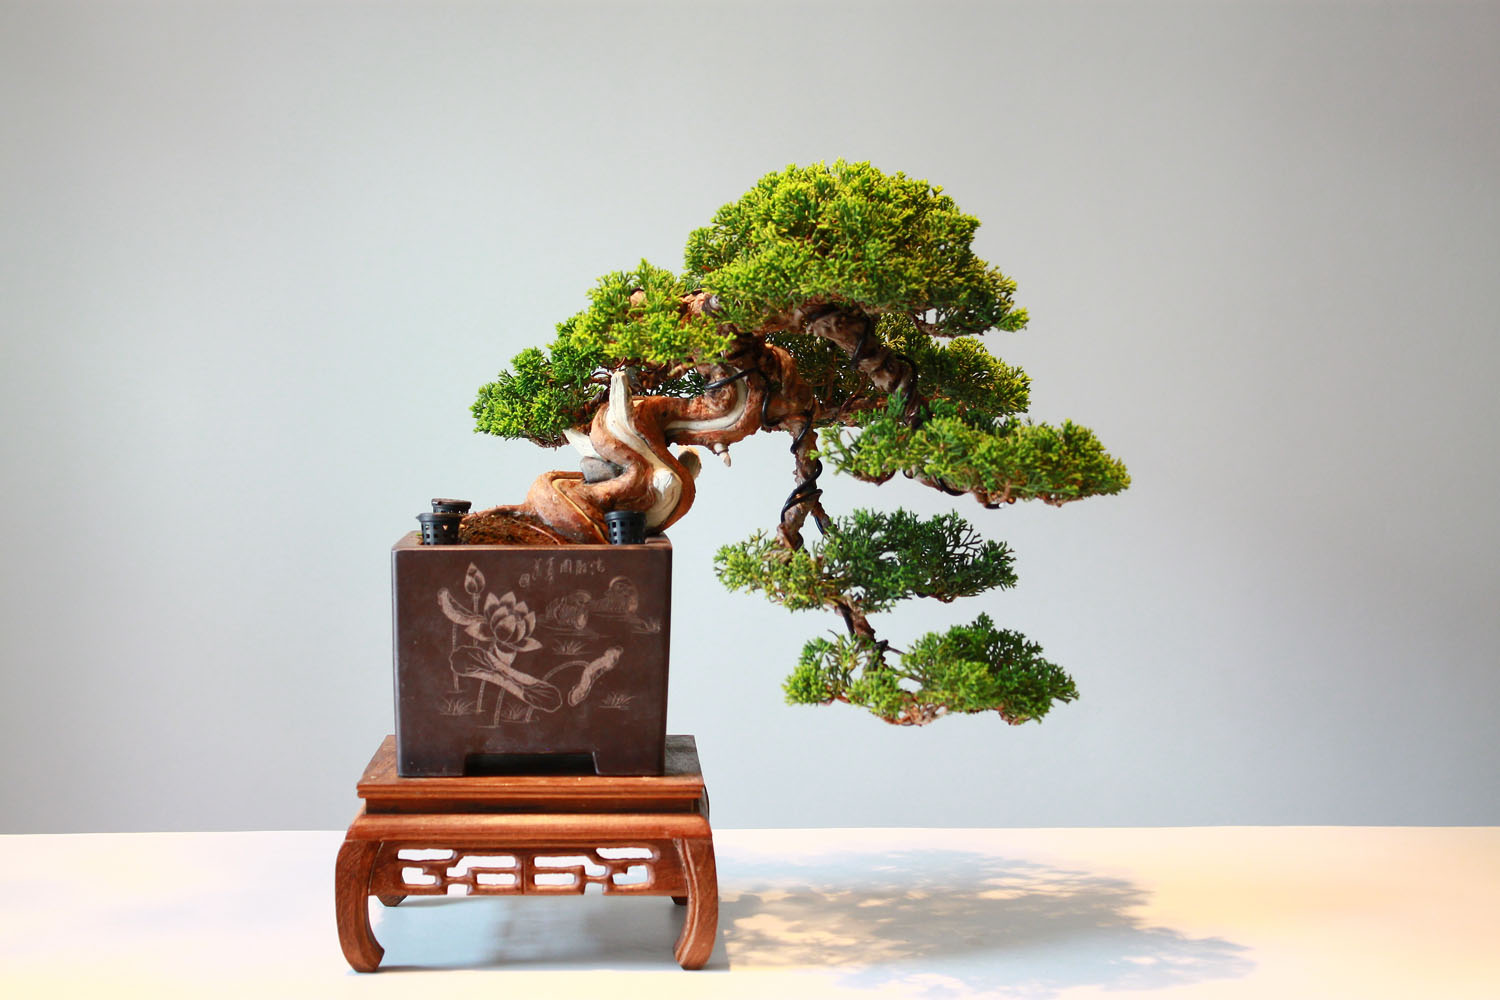
The Bonsai are a form of miniature trees. They count. This ancient Japanese art (dating from 7th ct. b.c.), once practised by the nobility of the far east, nowadays is practised all over the world. This hobby, even more than the previously mentioned, requires patience since it is not only constrained by one's skill but also by the slow growth of the plant. The caring for the little tree might take years and be only a few cuts or a well-placed wire. There are many traditional styles to choose from. The perfect thing for a patient person is the fact that this hobby is never truly finished, the tree is a living organism and there is always something to do with it.
- Details
- Written by Mateusz Robakowski
- Category: Minature collecting
- Hits: 1046
After buying and assembling your miniature, there is but one, final thing that you must do to make it complete. It just might hardest part of the whole process, but no miniature is complete without it. I’m talking about painting your little soldier, knight or hero. This guide will show you the process of painting at its simplest. I assure you, it will be good enough in the beginning. More advanced techniques will come later, do not worry.
You will need:
- Your model
- Paint of your chosen colour in spray form, to serve as a base
- Your range of paints (does not have to be extremely wide at the beginning)
- A wash paint (a heavily diluted paint which tends to hang around the details. Also known as a shade)
- A brush, preferably at least two. Try to get one as small as possible and one slightly bigger.
- A piece of white paper to serve as your makeshift palette (you might want to use two, to make it more sturdy)
- Some water might be in a special water basin, but glass will do just as well
- A paper towel to wipe your brush on.
- Prime/Base your model.
Take it outside, just so you won’t inhale the paint when you spray it on your model. You need to do this so other paints stick better to the plastic. Hold the spray can around 5 cm from the miniature and spray it evenly on all of the surfaces of the miniature. I recommend using short, moduled bursts of paint to get even coverage. I also recommend using a neutral colour, like grey, since it will be mostly covered by other paints. Give it 5-10 minutes to dry. - Choose your colour palette.
It is especially important if you are painting a unit of models. They need to look mostly alike after all. But even the individual models should have a nice colour range on them. It is best to take a moment and think about this. - Start painting!
Take your miniature and start applying the first colour, then the next and so on. Go from bigger areas to the details. Try to be as neat as possible but do not worry as much. This should be a relaxing experience.
When it comes to taking the paint from the pot do not take much, put it on your palette to get the excess paint off the brush, before putting it on the miniature and if you feel like, try to dilute it with water (on the piece of paper). A thinner paint is much easier to apply and will result in a nicer, smoother surface once you finish. That being said you might need to apply the thinned paint more than once to get the colour right. When changing colours, wipe your brush clean on the paper towel. - Apply the wash
After getting the first layer right, apply a wash on to the miniature. It will darken the whole figurine but it will also bring the details out. Try to apply it mostly around those and do not go overboard as it might make the figurine look dirty. - Apply highlights (optional for the beginners)
An optional last step is to go with the paints over the figurine once again, this time using slightly lighter colours and painting only the raised areas and the edges. This will add definition to the whole miniature and simply make it appeal more visually pleasing. This is, however, quite a difficult process and requires time and skill. Do not worry, you can always come back to highlight your models later when you feel more confident about your painting.
- Details
- Written by Mateusz Robakowski
- Category: Minature collecting
- Hits: 1226
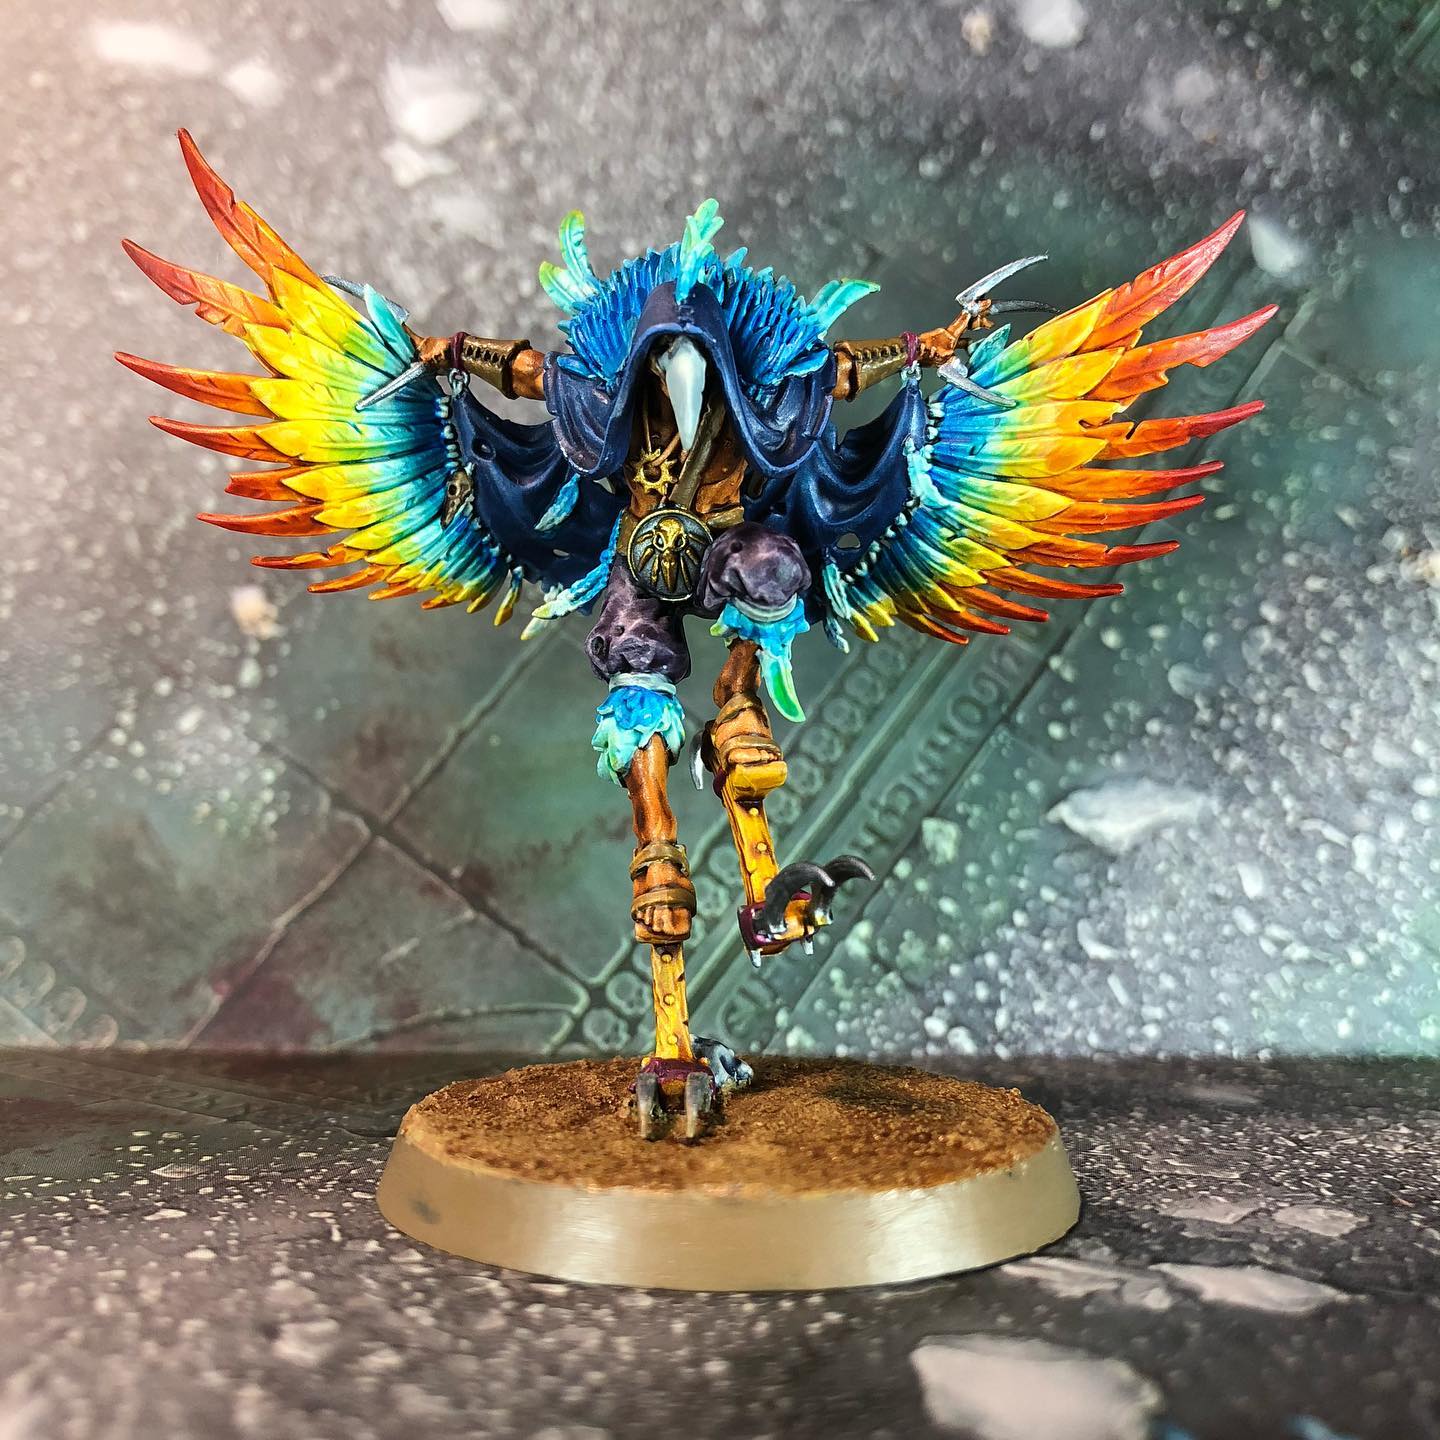
Though still mostly a niche hobby, in recent years the past time of collecting Minifigures has grown much in popularity. Mostly connected to popular wargames, like Warhammer 40K or Warhammer: Age of Sigmar, these miniatures attract not only the tabletop strategists but also collectors and even artists.
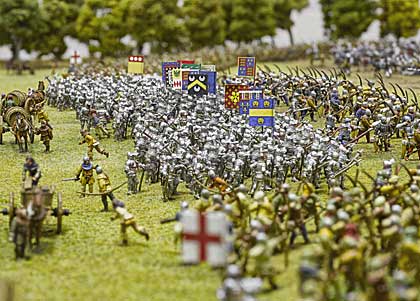
The origins of this hobby can be traced to both Toy Soldiers that children used to play with, and full-on battle reconstructions in diorama form (like on the picture below) that used to be popular amongst amateur and even professional historians of warfare. But the true wargaming was in fact invented by Prussians in the 19th ct. The Prussian military adopted this form of past time as an official tactical training in 1824. In the later part of the century, it moved all around the world to become a hobby for some of the upper classes but only in the second half of the 20th ct, it has become a hobby for everyone. And popularity is only rising!
The growing popularity of the hobby can be best presented in a simple fact: Games Workshop, a British wargaming company, perhaps the biggest producer of Minifigures, has risen 160% in stock value in 2017, reaching a whopping £770m. But Games Workshop is far from the only Minifigures producer and all the types of the Warhammers are far from the only kinds of wargames. Below are some interesting examples of wargaming systems that you might want to explore:
- Warhammer 40K and Warhammer: Age of Sigmar by Games Workshop
- Fallout: Wasteland Warfare by Modiphius Entertainment
- Middle Earth by Games Workshop
- Star Wars: X-Wing 2nd Edition by Fantasy Flight Games
- Bolt Action by Osprey Publishing
Assuming that you checked the systems that I recommended (maybe even found some on your own!) what should you do next? Well, it’s simple really! Go out there and buy your first model! (You might need to look for it online since the stores aren’t everywhere). Then you should buy yourselves some glue, a brush and a decent selection of paints. You might pay through your nose, but boy! are you in store for some serious fun!
- Details
- Written by Mateusz Robakowski
- Category: Minature collecting
- Hits: 1118
Before you can conduct the wargame or even paint your miniature, first you need to assemble it. Most miniatures do not come ready to go in the box, instead, they require you to assemble them step by step. And remember: this is not Lego! Building your miniature is much harder, but, in my opinion at least, much more rewarding.
In this article, I like to present to you how to (generally) build your figurine, step by step. Since this is going to be a general overview of the actions required to complete one, I’m not going to go into too many details. Each figurine ist different after all, especially if they come from different systems, and yet there are some universal steps that need to be taken.
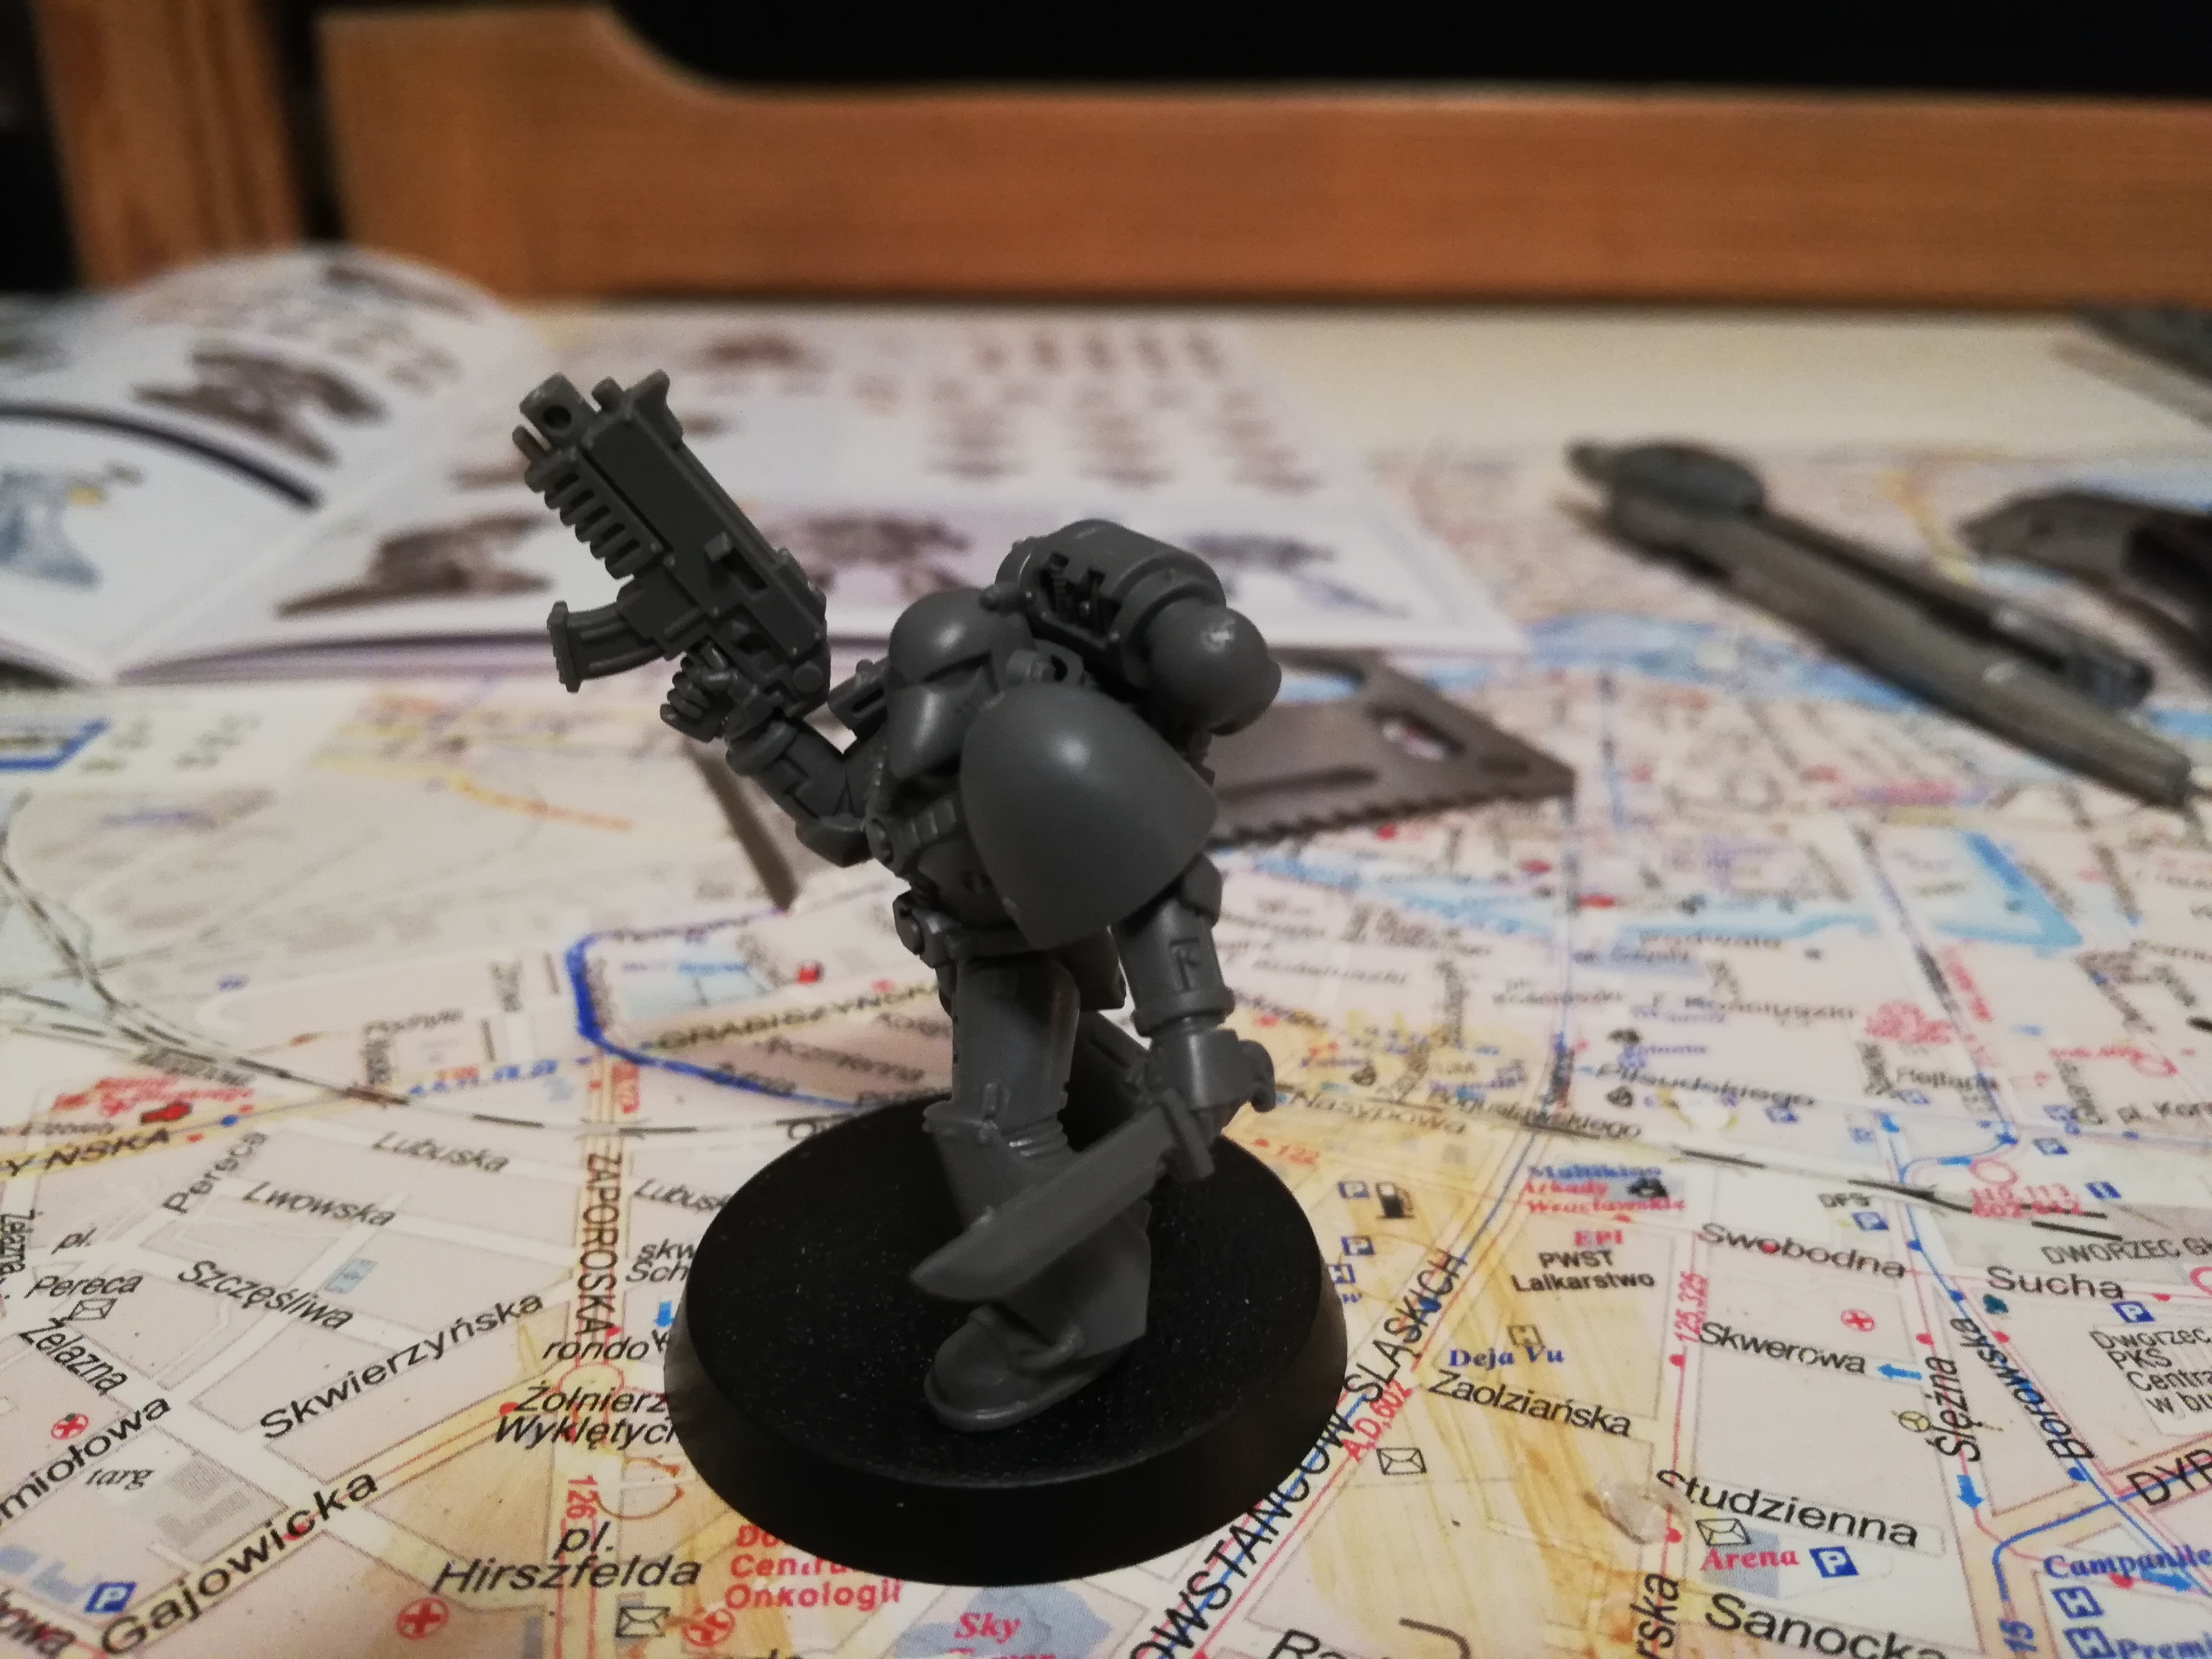
(For this guide, I’m going to be assembling GW’s tactical space marine from the “Start collecting: Space Marines” box)
- Gather your stuff!
You’ll need:
- The model (obviously) - Please note that they usually come in sprues!
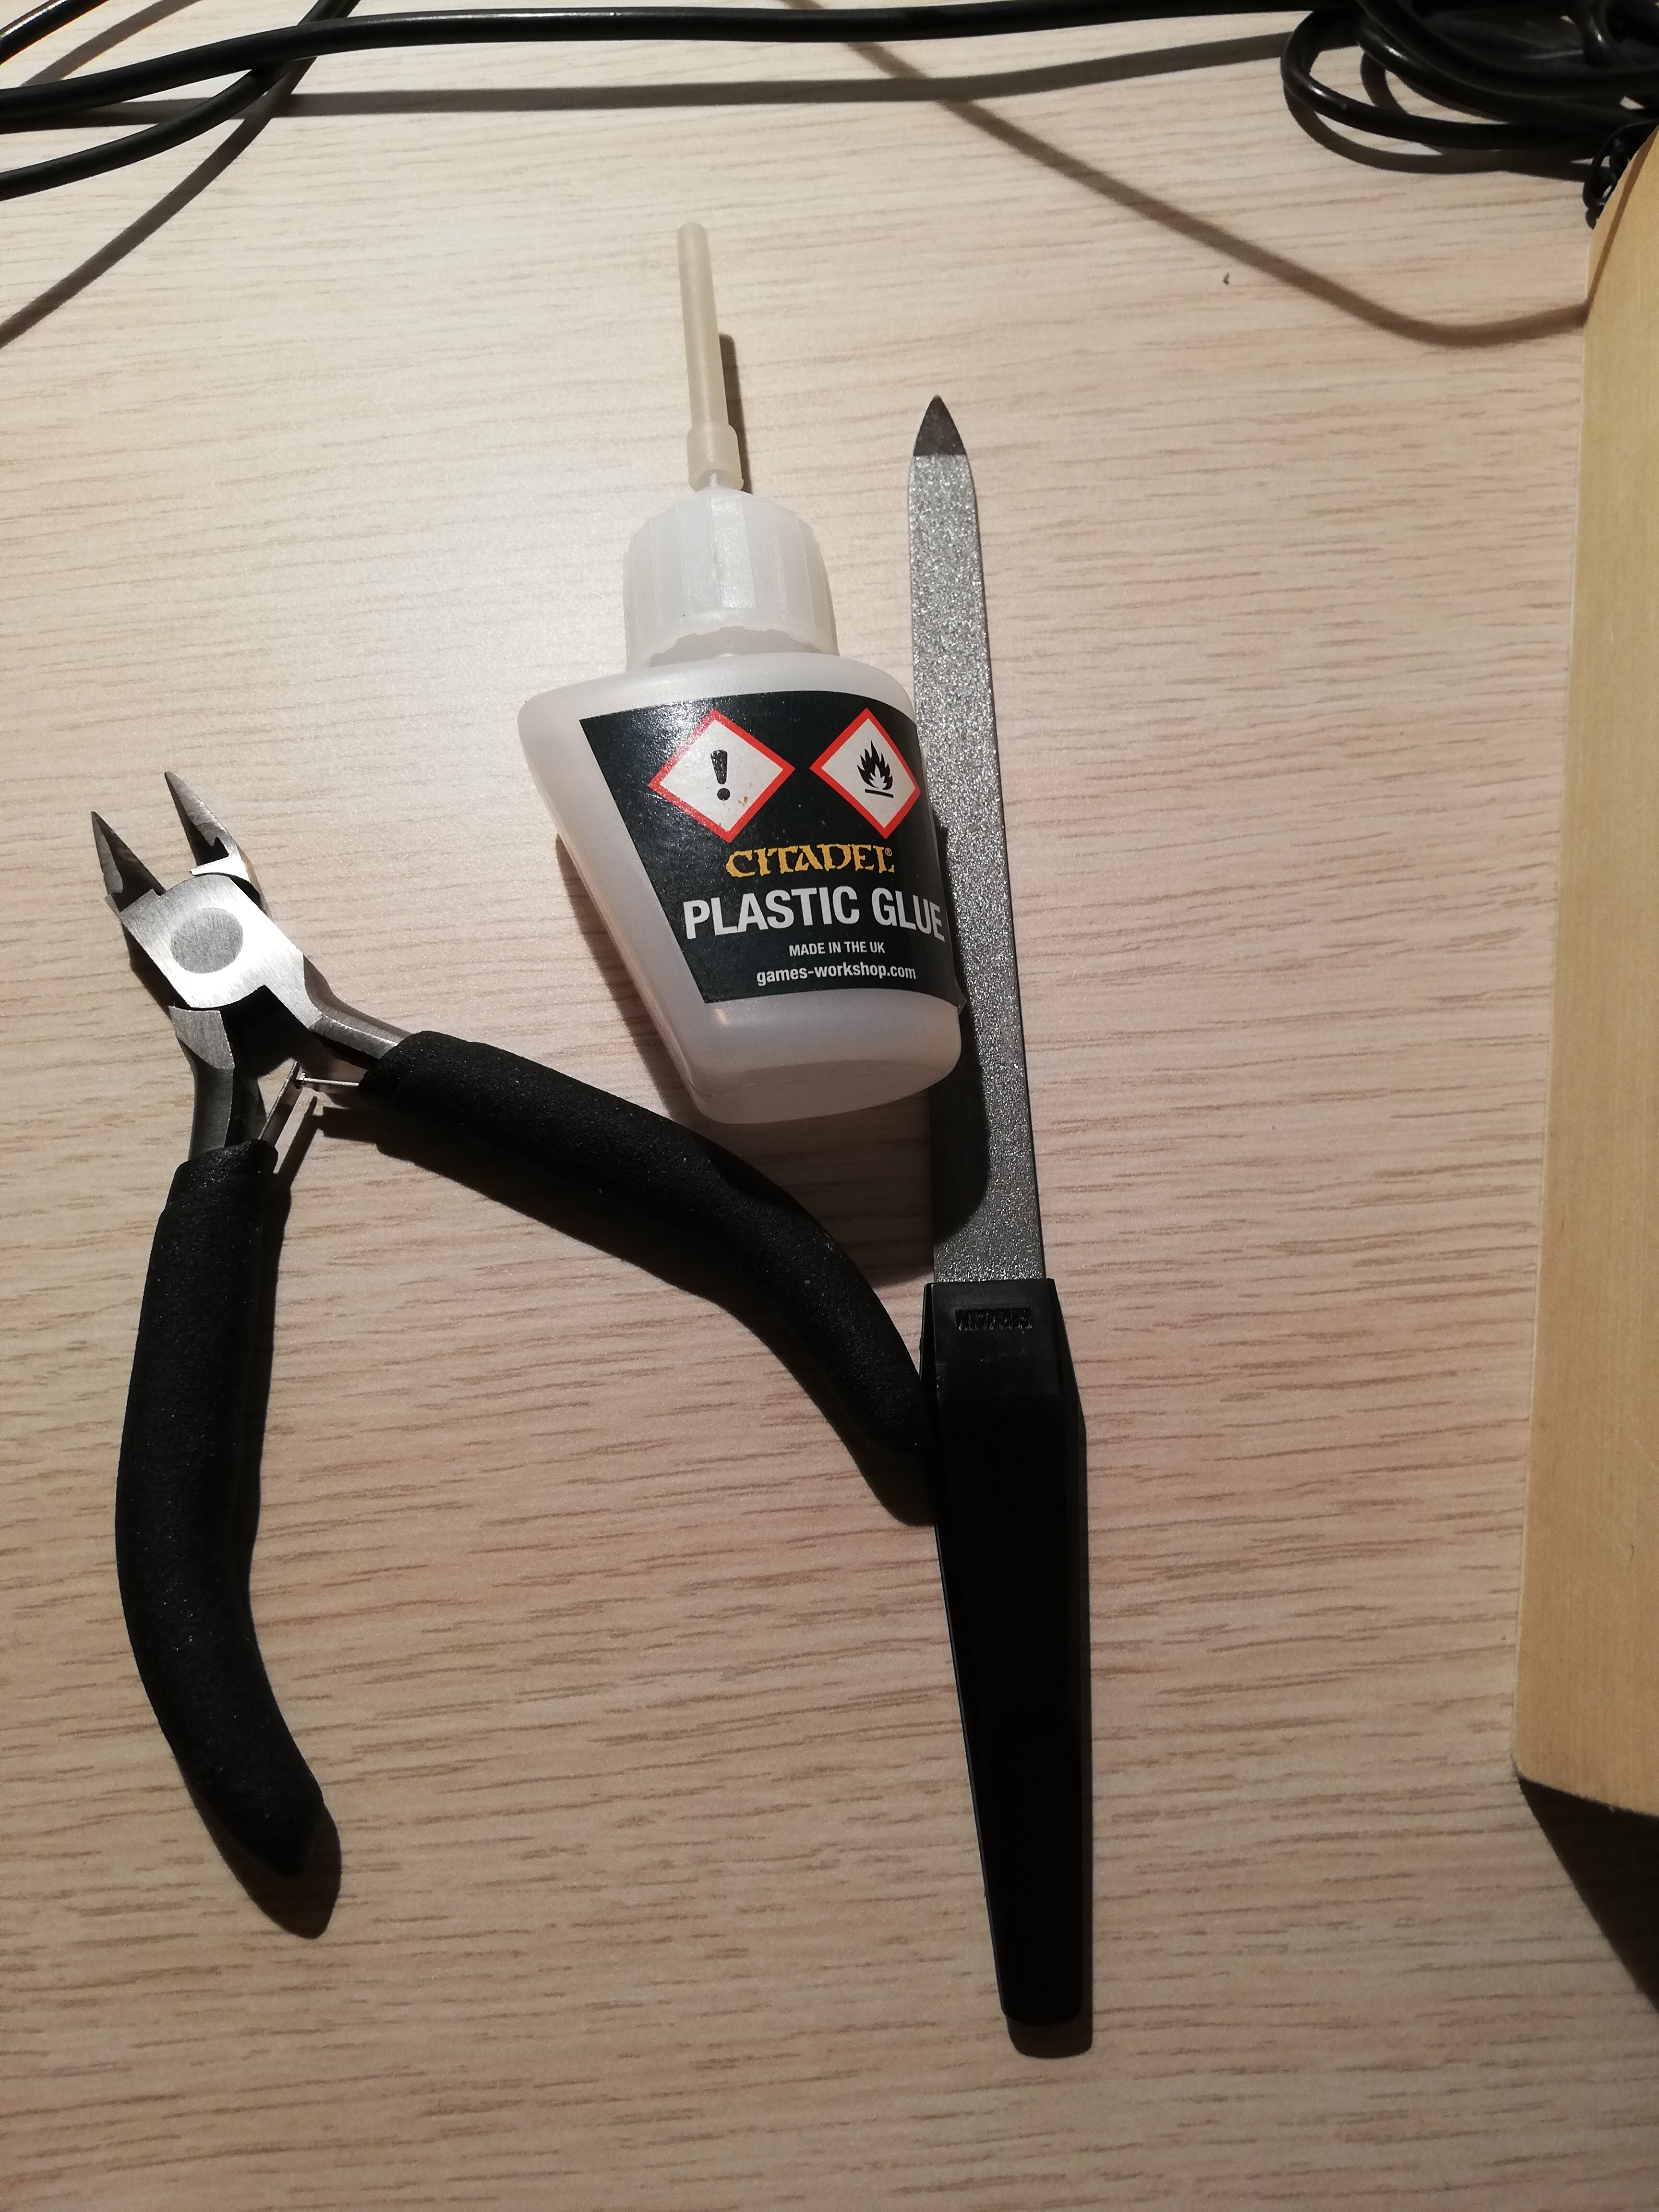
- A clipper - to remove the model from the sprue.
- A file or a sharp knife/mold remover - to remove any remains of the spurs and the mold lines left after the casting of the figurines (this second part I would call optional, they bother some more than others)
- Some kind of glue - Citadel Plastic Glue works best for plastic, everything else is best covered by Super Glue.
- An assembly instruction - usually comes with the model. You generally want to follow that. But don’t be afraid to get creative!
- Read the instruction carefully!
Even If you are not going to follow it 100% of the time (as I often do), it is good to acquaint yourself with how the figurine should be assembled. Also, it is likely that the parts of the figurine are listed there and knowing this will help you keep track of everything.
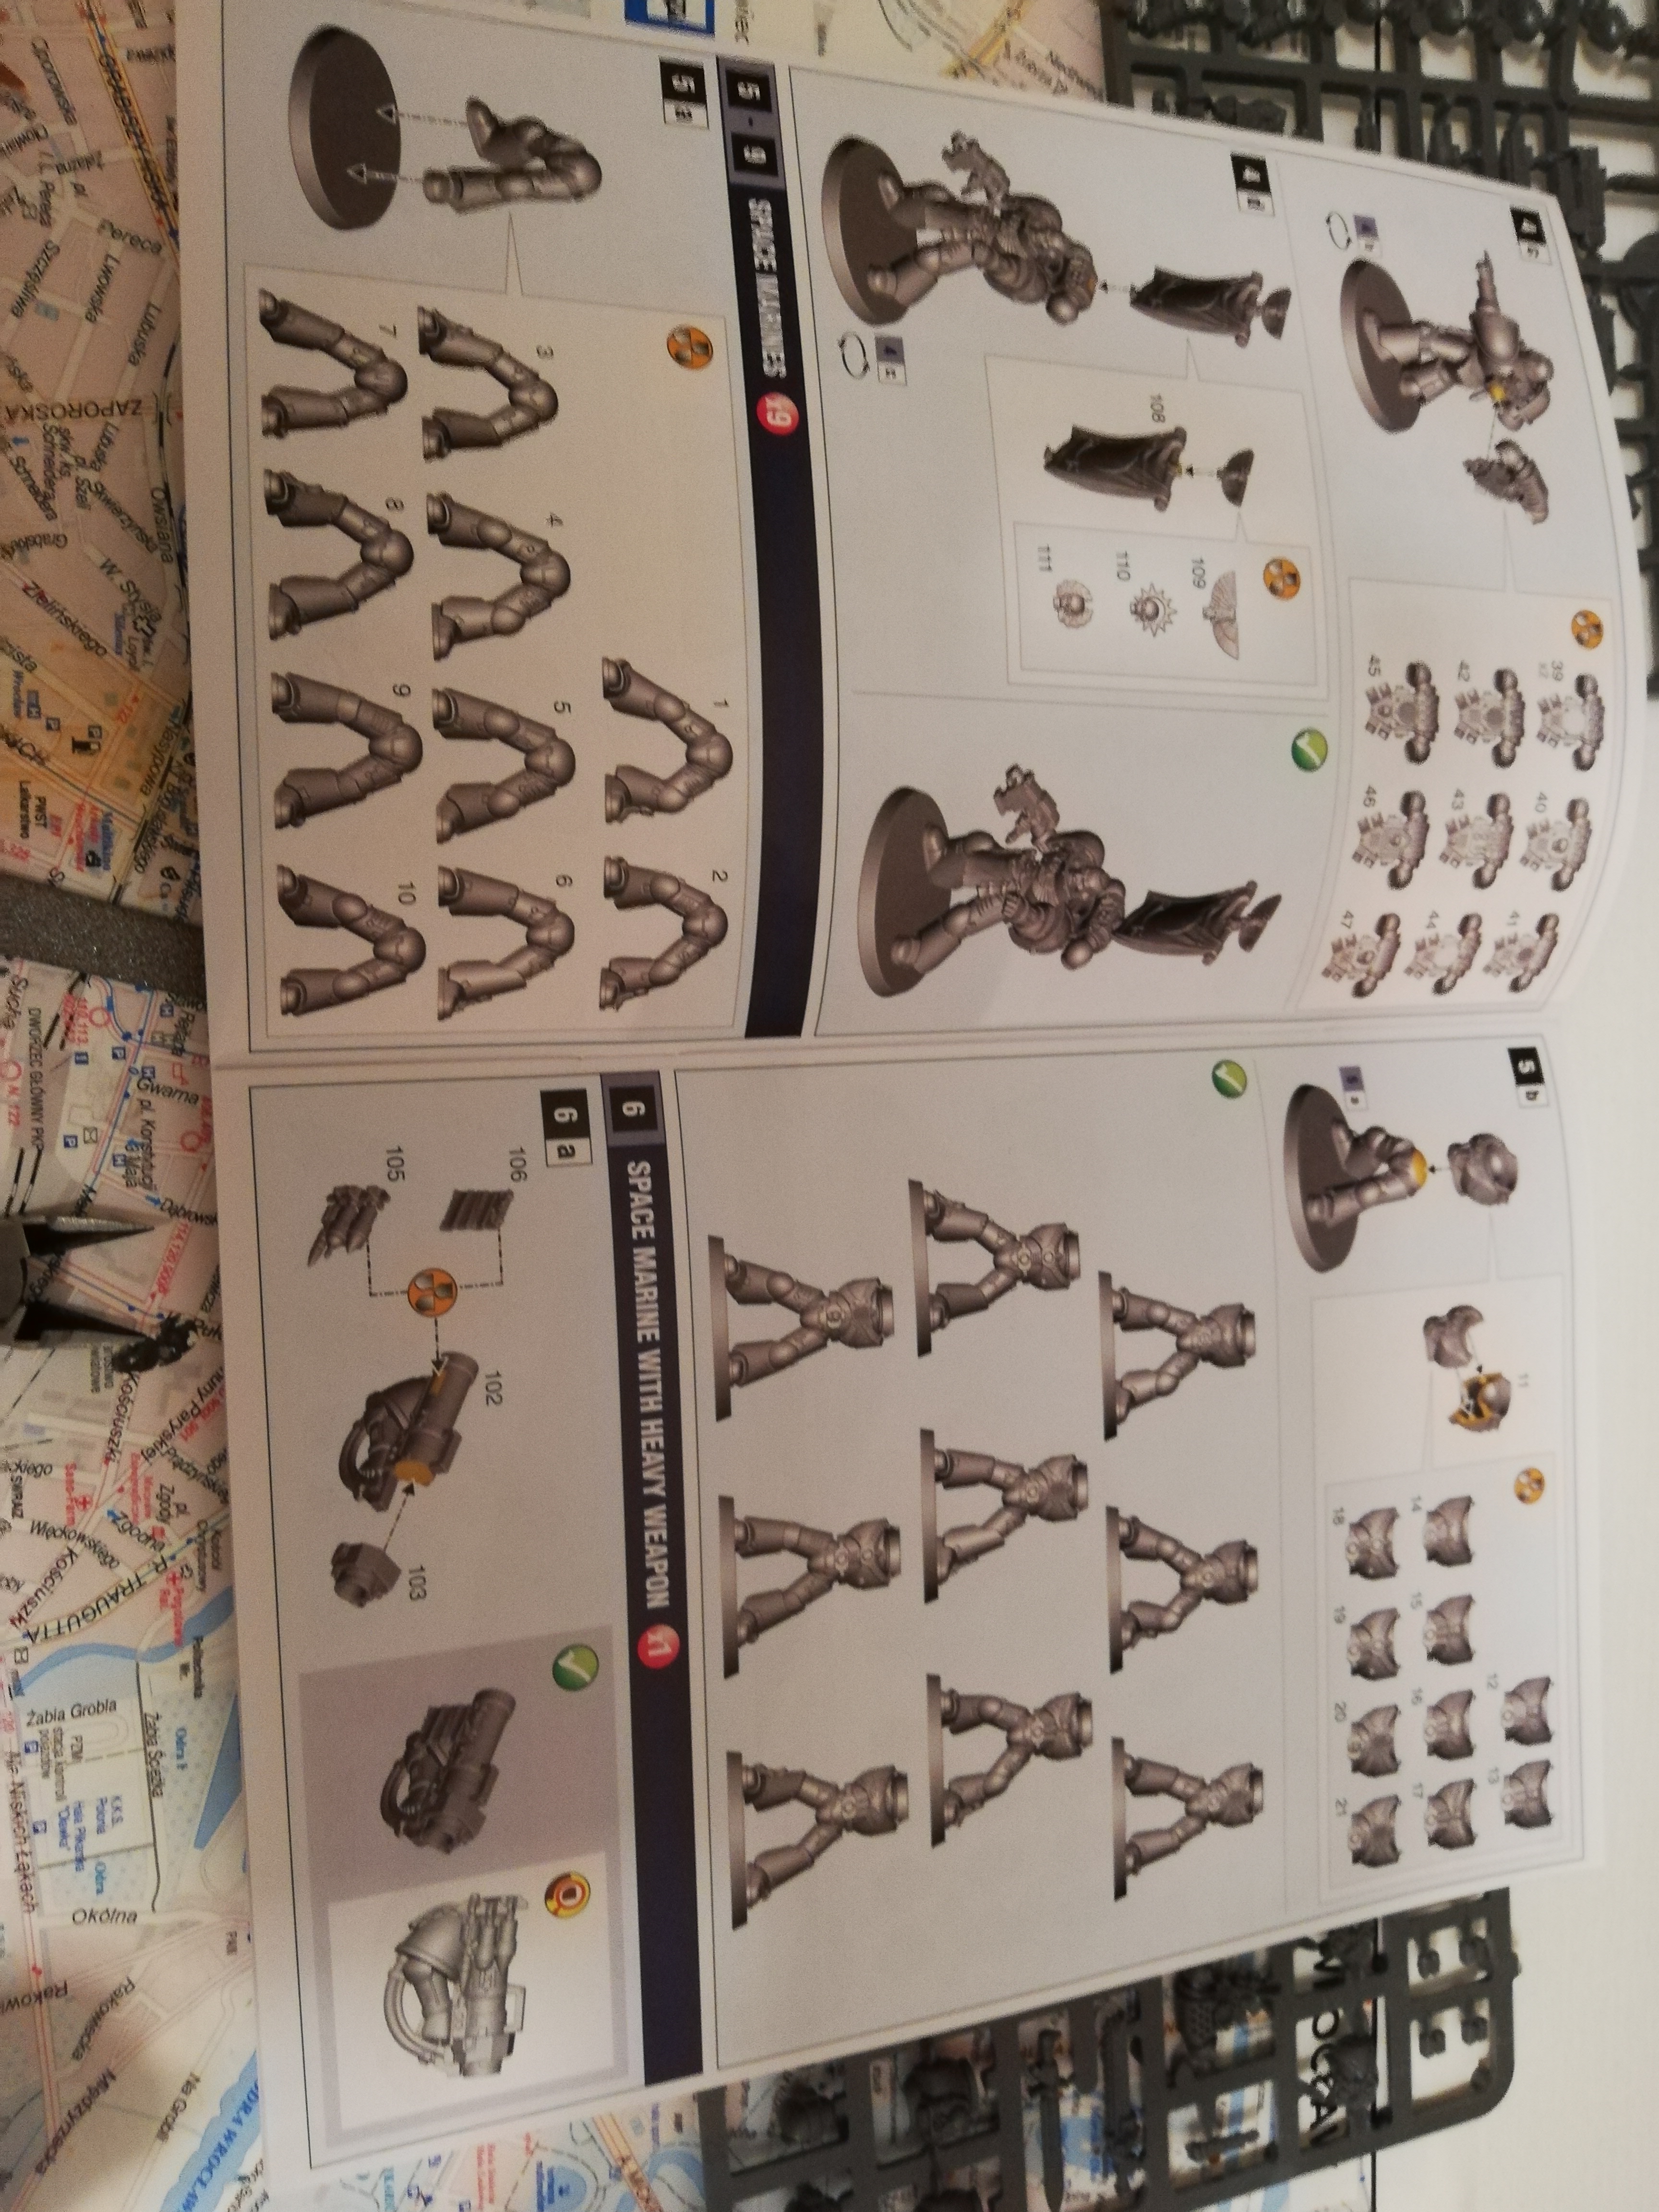
- Cut out the parts that interest you
This obviously means the parts of your figurine. Some people cut them out as they need them, whilst assembling but for a beginner, I would recommend cutting all the necessary parts upfront. Consult the instructions to get an idea about which parts you’ll need.
When cutting, try to get the flat edge of the clippers next to the part itself so there is the least amount possible of the plastic holding the part to the sprew. But there is almost always some. To remove the leftover, unwanted plastic use the file or a sharp knife. Or you can just cut it with a clipper. But be careful! You don’t want to accidentally remove some important detail on the miniature!
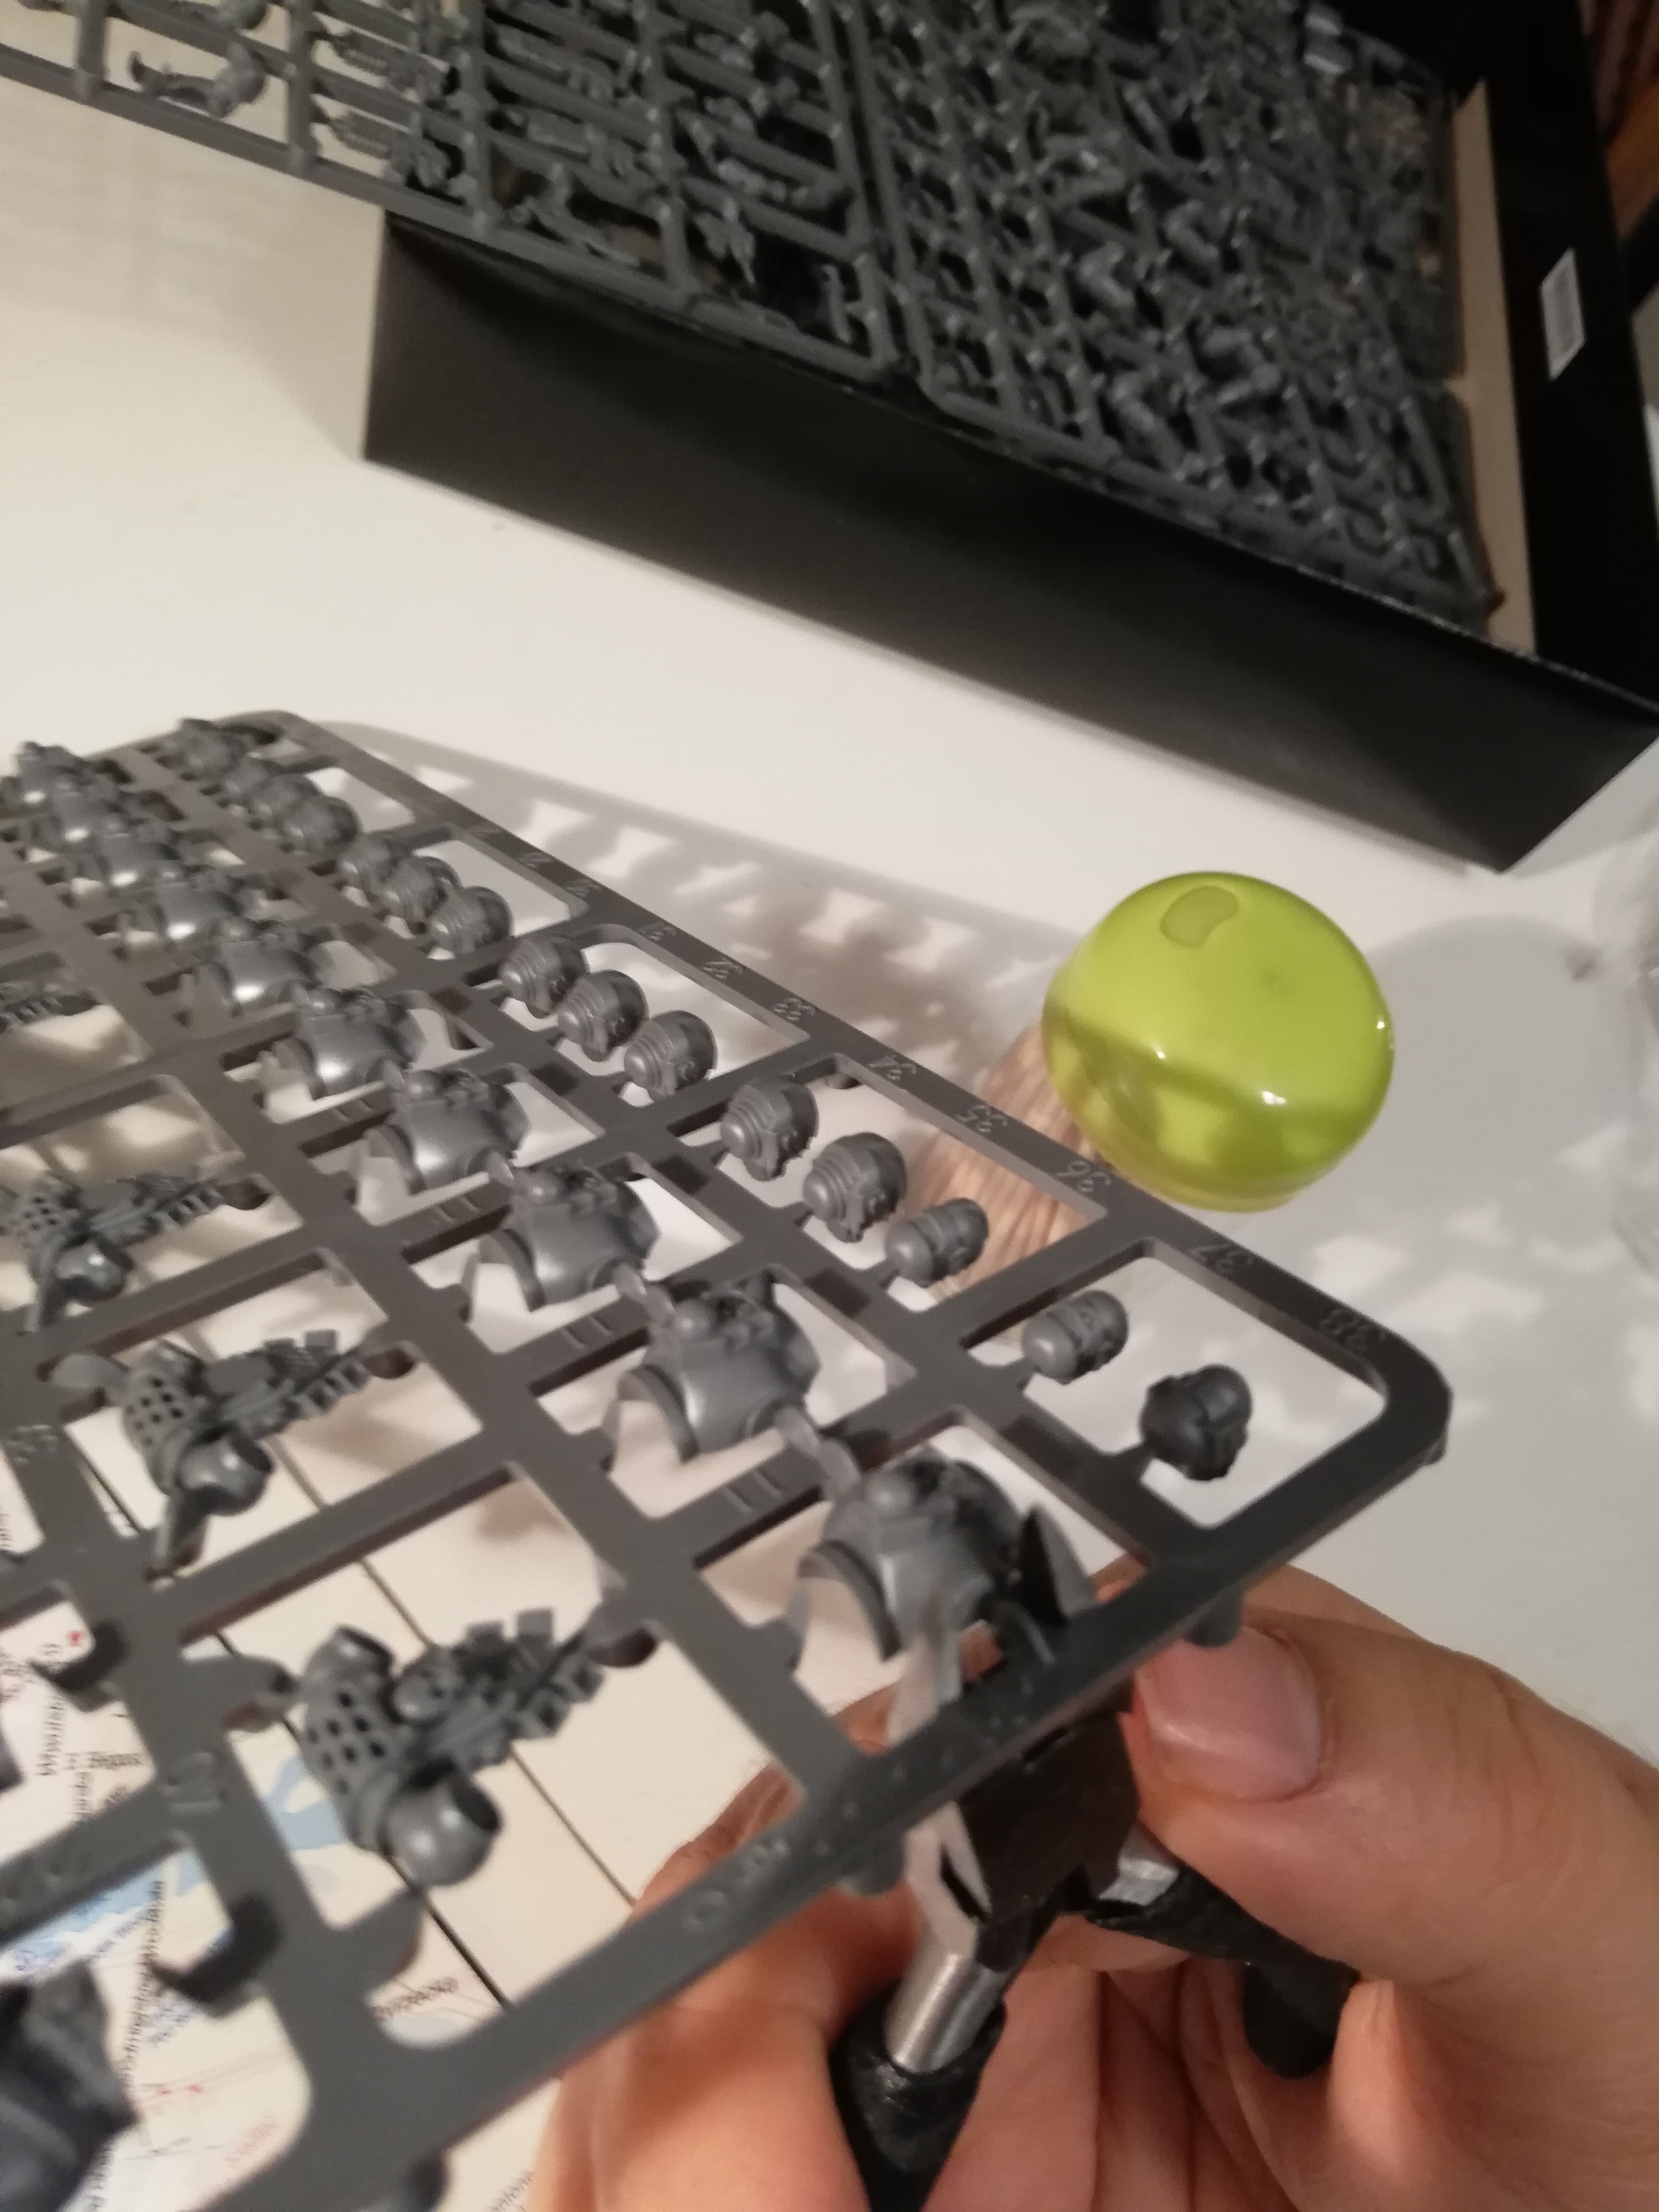
- Glueing the miniature together
Perhaps the most important step. Once you cut and cleaned all of the parts you should then, glue them together. I recommend starting from the bottom, that is the base of the figurine. Then work your way up by glueing legs and the torso. When using the plastic glue, be very careful not to spill any on yourself. This form of glue is basically a weak kind of oxygen activated acid and it might burn your skin. It works by melting two pieces of plastic into one. For the same reason try to be as neat with the glue on the miniature itself - if the glue spills on the places you do not want them to it is not going to look pretty.
Once you are done with the torso, most of the time all you need to glue are the arms and the head. You might want to try different poses before glueing those parts as once they are set, you won’t be able to move them any more. In the case of my marine, I had to glue the arms first as I wasn’t sure if the head wouldn’t collide with them in the position that I wanted it to be in, but you might do it the other way around, no problem.
When you are done with the main body there might be an assortment of additional details that you might want to add to your soldier, like additional bags, grenades or some icons. Check the sprue if it doesn't hold any such minor pieces and then add them to your figurine. Or don’t. It’s your choice after all.
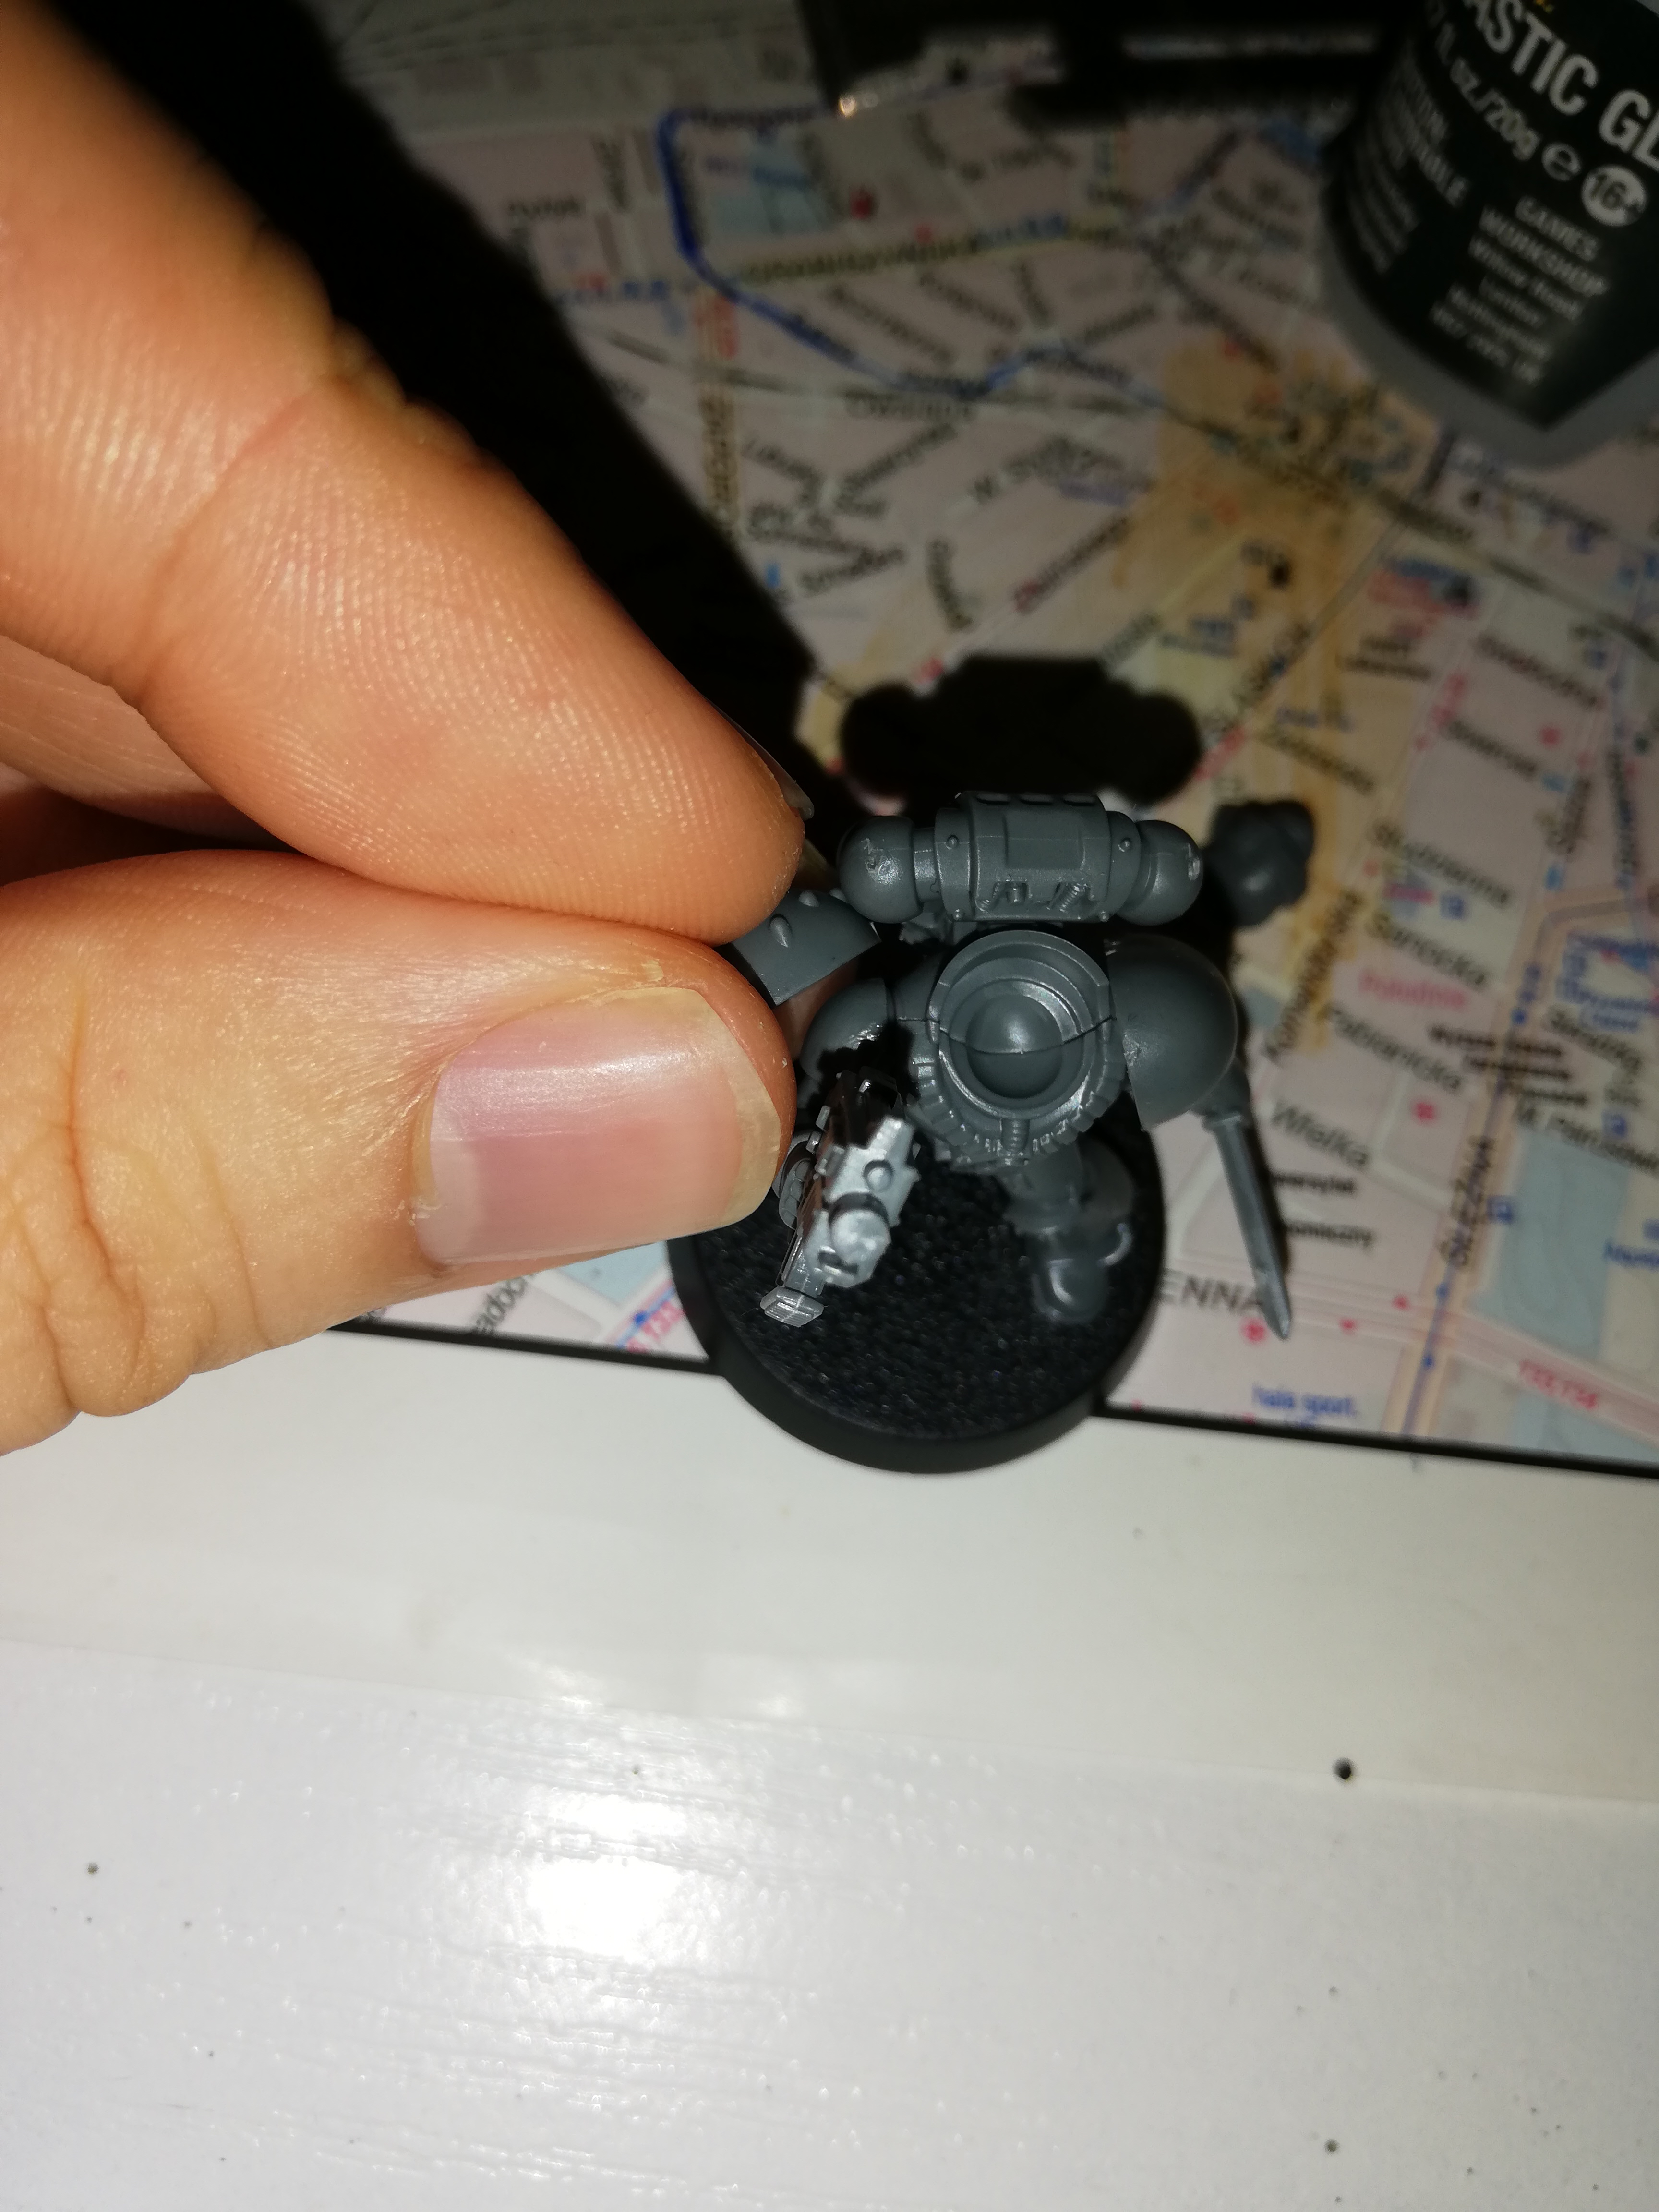
- All done!
Congratulations! You have finished your miniature, no doubt first of many. Before you finish, take a long, careful look to enjoy the good work that you have done (or find anything that you might want to fix). Your miniature is ready for painting and after that for battle!
