- Details
- Written by Julia Plińska
- Category: Ice hockey
- Hits: 1027

Following the Board of Governors meeting on Monday, NHL Commissioner Gary Bettman announced that the league “will not tolerate abusive behavior”. With the full support of the Board of Governors, NHL is to achieve the goal of eliminating abusive behavior of any kind and raise awareness of the issue by creating special educational programs for team personnel and players.
The announcement was brought forth by recent allegations against specific coaches and their abusive practices. Many of the revelations and incident reports were presented by former NHL player Akim Aliu during a meeting with Commissioner Bettman and Deputy Commissioner Bill Daly.
The topic was further discussed at the beginning of the Board of Governors meeting Monday. The Board agreed unanimously that any report of abusive behavior in the league needs to be followed and new measures have to be put into place to stop these incidents from happening. The NHL Players' Association was also consulted on the issue and agreed to help with the project.
Furthermore, all team executives have been notified that they are required to report on any cases of abusive behavior they are aware of. If they fail to do so, the club and individuals involved will be severely disciplined by the League. In his statement, Bettman also vowed to create an annual program on counseling, consciousness-raising, education and training on diversity and inclusion. Such program would be mandatory for all NHL coaches, assistants, general managers and assistant general managers as well as minor league coaches under contract with an NHL team.
An additional “hotline” will be created to facilitate the process of reporting any incidents within the NHL. The platform will allow its users to remain anonymous if they wish to do so.
"Unfortunately, in this world there are incidents," Commissioner Bettman said. "That doesn't make it all right. One incident is too many. Our goal is to continue to educate, consciousness-raise and do the right thing to keep incidents of inappropriate conduct to a minimum and actually eliminate them entirely, and make sure people understand that our game is open, inclusive and we pride ourselves on our diversity."
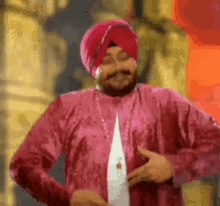
The initiative has already had its impact on the league. Following Akim Aliu’s allegations against him, Bill Peters resigned from his position as Calgary Flames coach. According to Aliu, Peters directed racial epithets at him 10 years ago, when Peters was the coach and Aliu a player for Rockford of the American Hockey League.
In addition, just a few hours after Commissioner Bettman’s announcement, Jim Montgomery was fired from his position as coach of the Dallas Stars. While Stars general manager Jim Nill made it clear that the decision had nothing to do with Commissioner’s statement and not all details regarding the case are public, Montgomery was involved in an incident with an employee that was deemed “a material act of unprofessionalism contrary to the values and standards held by the Dallas Stars organization”.
- Details
- Written by Julia Plińska
- Category: Ice hockey
- Hits: 1104
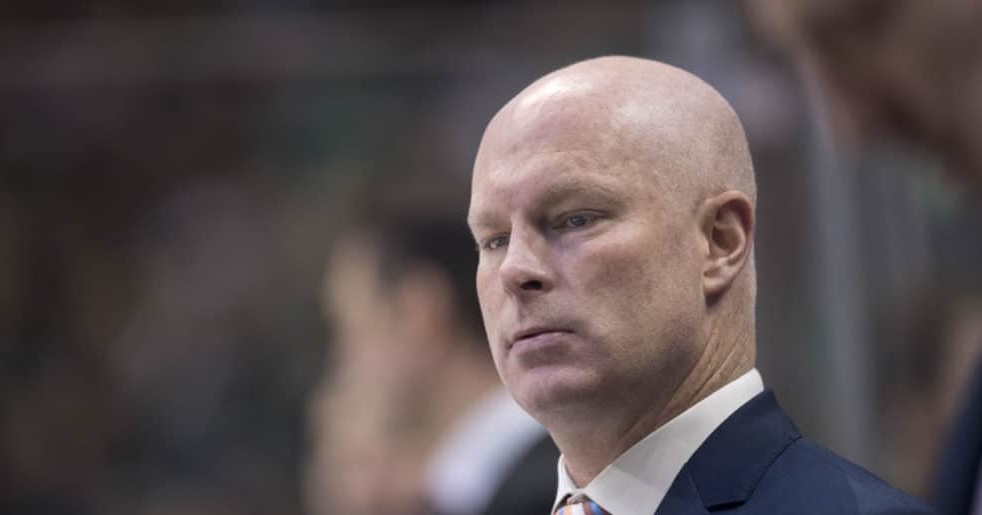
On December 3, 2019 the New Jersey Devils announced that they have relieved John Hynes of his duties as the Head Coach. Devils' Executive Vice President and General Manager Ray Shero also confirmed that Alain Nasreddine will become Interim Head Coach and he will be joined on the coaching staff by Peter Horachek, a pro scout for the team.
Hynes spent last five season in New Jersey and was 150-159-45 during his tenure with the Devils. In that time, he lead the team to the playoffs in 2017-18, where they lost to Tampa Bay Lightning in the first round after going 1-4. On January 3, 2019, Hynes signed a new multiyear contract with the Devils. Before his firing, he was the fifth longest-tenured coach in the NHL.
Despite the addition of PK Subban, Wayne Simmonds and Nikita Gusev, as well as drafting the 1st overall pick, Jack Hughes, the Devils had a disappointing start to the season. At the time of Hynes’ firing, they were 9-14-4, and placed 15th in the Eastern Conference and 30th in the NHL standings. The announcement also followed a particularly rough week for the team, in which they lost to the New York Rangers 4-0 on Saturday and to the Buffalo Sabres 7-1 on Monday.
Ray Shero informed the media about the coaching change shortly before the Devils’ next game against the Vegas Golden Knights. In his statement, he explained his decision to not let Hynes coach during this game.
"I don't know that [that] would have done anything," Shero said. "I just thought that after the last couple games, last night in particular, it wasn't fair to him, it wasn't fair to us. I knew what I was going to do. [I made my] recommendation to [Devils owners] Josh Harris and David Blitzer, and so I think that was the timing, and to deal with, you know, today and not tomorrow, and there's no way I wouldn't be fair to John. And so it was time to time to do something."

Shero also commented on the overall performance of the team and expressed his gratitude for Hynes’ work over the past five seasons.
"John played an integral role in the development of this team in establishing a foundation for our future and we are grateful for his commitment, passion and unmatched work ethic," said Shero. "John is a respected leader, developer of talent and friend which makes this decision difficult. We are a team that values and takes pride in accountability to the results we produce. We are collectively disappointed in our performance on the ice and believe changes were needed, starting with our head coach. I have been consistent in my desire to build something here in New Jersey that earns the respect of teams throughout the league and pride in our fans. That is not where we were heading and for me to tolerate anything less was not acceptable."
"John [did] a really good job here over the past four-plus seasons in terms of establishing the way things [are] both on and off the ice, but everybody had higher expectations," Shero added. "But ... it's collectively as a group and our team. I don't think there's any one player that is performing, even at the level, let alone above, that we expect or maybe they expect. And that's a thing that's disappointing.”
The Devils’ new coach, Alain Nasreddine, joined the team’s staff in 2015. Prior to that, he was an assistant coach with Wilkes-Barre Scranton in the American Hockey League for five seasons. He also has experience playing in the league, notching five points in 74 NHL games in five seasons as a defenseman with the Chicago Blackhawks, Montreal Canadiens, New York Islanders and Pittsburgh Penguins from 1998-2008.
- Details
- Written by Mateusz Robakowski
- Category: Minature collecting
- Hits: 1046
After buying and assembling your miniature, there is but one, final thing that you must do to make it complete. It just might hardest part of the whole process, but no miniature is complete without it. I’m talking about painting your little soldier, knight or hero. This guide will show you the process of painting at its simplest. I assure you, it will be good enough in the beginning. More advanced techniques will come later, do not worry.
You will need:
- Your model
- Paint of your chosen colour in spray form, to serve as a base
- Your range of paints (does not have to be extremely wide at the beginning)
- A wash paint (a heavily diluted paint which tends to hang around the details. Also known as a shade)
- A brush, preferably at least two. Try to get one as small as possible and one slightly bigger.
- A piece of white paper to serve as your makeshift palette (you might want to use two, to make it more sturdy)
- Some water might be in a special water basin, but glass will do just as well
- A paper towel to wipe your brush on.
- Prime/Base your model.
Take it outside, just so you won’t inhale the paint when you spray it on your model. You need to do this so other paints stick better to the plastic. Hold the spray can around 5 cm from the miniature and spray it evenly on all of the surfaces of the miniature. I recommend using short, moduled bursts of paint to get even coverage. I also recommend using a neutral colour, like grey, since it will be mostly covered by other paints. Give it 5-10 minutes to dry. - Choose your colour palette.
It is especially important if you are painting a unit of models. They need to look mostly alike after all. But even the individual models should have a nice colour range on them. It is best to take a moment and think about this. - Start painting!
Take your miniature and start applying the first colour, then the next and so on. Go from bigger areas to the details. Try to be as neat as possible but do not worry as much. This should be a relaxing experience.
When it comes to taking the paint from the pot do not take much, put it on your palette to get the excess paint off the brush, before putting it on the miniature and if you feel like, try to dilute it with water (on the piece of paper). A thinner paint is much easier to apply and will result in a nicer, smoother surface once you finish. That being said you might need to apply the thinned paint more than once to get the colour right. When changing colours, wipe your brush clean on the paper towel. - Apply the wash
After getting the first layer right, apply a wash on to the miniature. It will darken the whole figurine but it will also bring the details out. Try to apply it mostly around those and do not go overboard as it might make the figurine look dirty. - Apply highlights (optional for the beginners)
An optional last step is to go with the paints over the figurine once again, this time using slightly lighter colours and painting only the raised areas and the edges. This will add definition to the whole miniature and simply make it appeal more visually pleasing. This is, however, quite a difficult process and requires time and skill. Do not worry, you can always come back to highlight your models later when you feel more confident about your painting.
- Details
- Written by Mateusz Robakowski
- Category: Minature collecting
- Hits: 1133
I’ll be the first to admit that out of things that are small I’m mostly interested with models for wargaming systems. And yet, this segment is called “Miniature Collecting” so it wouldn’t be fair to focus solely on this one aspect, would it? That is why I want you to join me as I explore different forms of miniature art that people are collecting. The following article will present you with four different hobbies that obsess some people all around the globe.
1. Diorama making
While being partly connected with model collection, the art of making dioramas is vastly more complex. Where the wargamers build single models, diorama makers create landscapes. Where the wargamers might look for a clear and pretty paint scheme, diorama makers create visual compositions or incredibly detailed recreations of real-life places, that to all honesty seem almost alive themselves.
I think it is clearly visible how much respect I have for thee people that give in to this passion. And it is not an easy one. Creating, often by hand, not only the models but also the landscape needed takes time and resources that few have. But the results are often phenomenal.

2. Miniature architecture
Again, quite similar to both dioramas and wargaming collecting, miniature architecture also deals with models, this time, however, it is almost exclusively buildings and almost exclusively real ones. Scale modelling is all about being true to reality, only on a much smaller scale. It is my guess that it must be popular with architects and architect wannabes. That being said, what they lack in imagination, they more than make up for with the attention to detail.

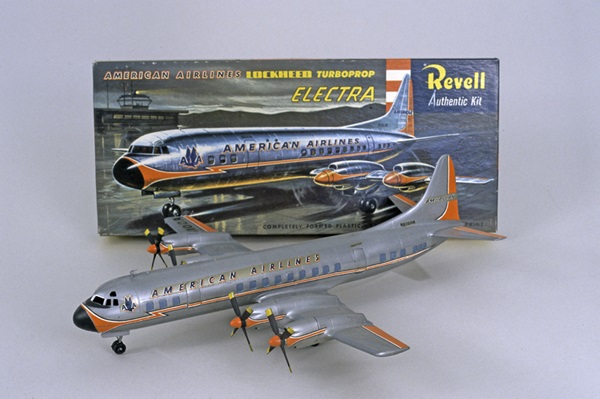
3. Scale models
The grandpa of all of the miniature hobbies, scale modelling is basically scaling down of anything that exists (if most of what exist are vehicles). Again, attention is paid more to the details and truthfulness than to imagination but it is closer to wargaming models in that it usually concerns itself with single models, not entire installations of them. This type of model collecting has been popular for almost a hundred years at least, so it is no surprise that it has been very present in the works of mass culture.
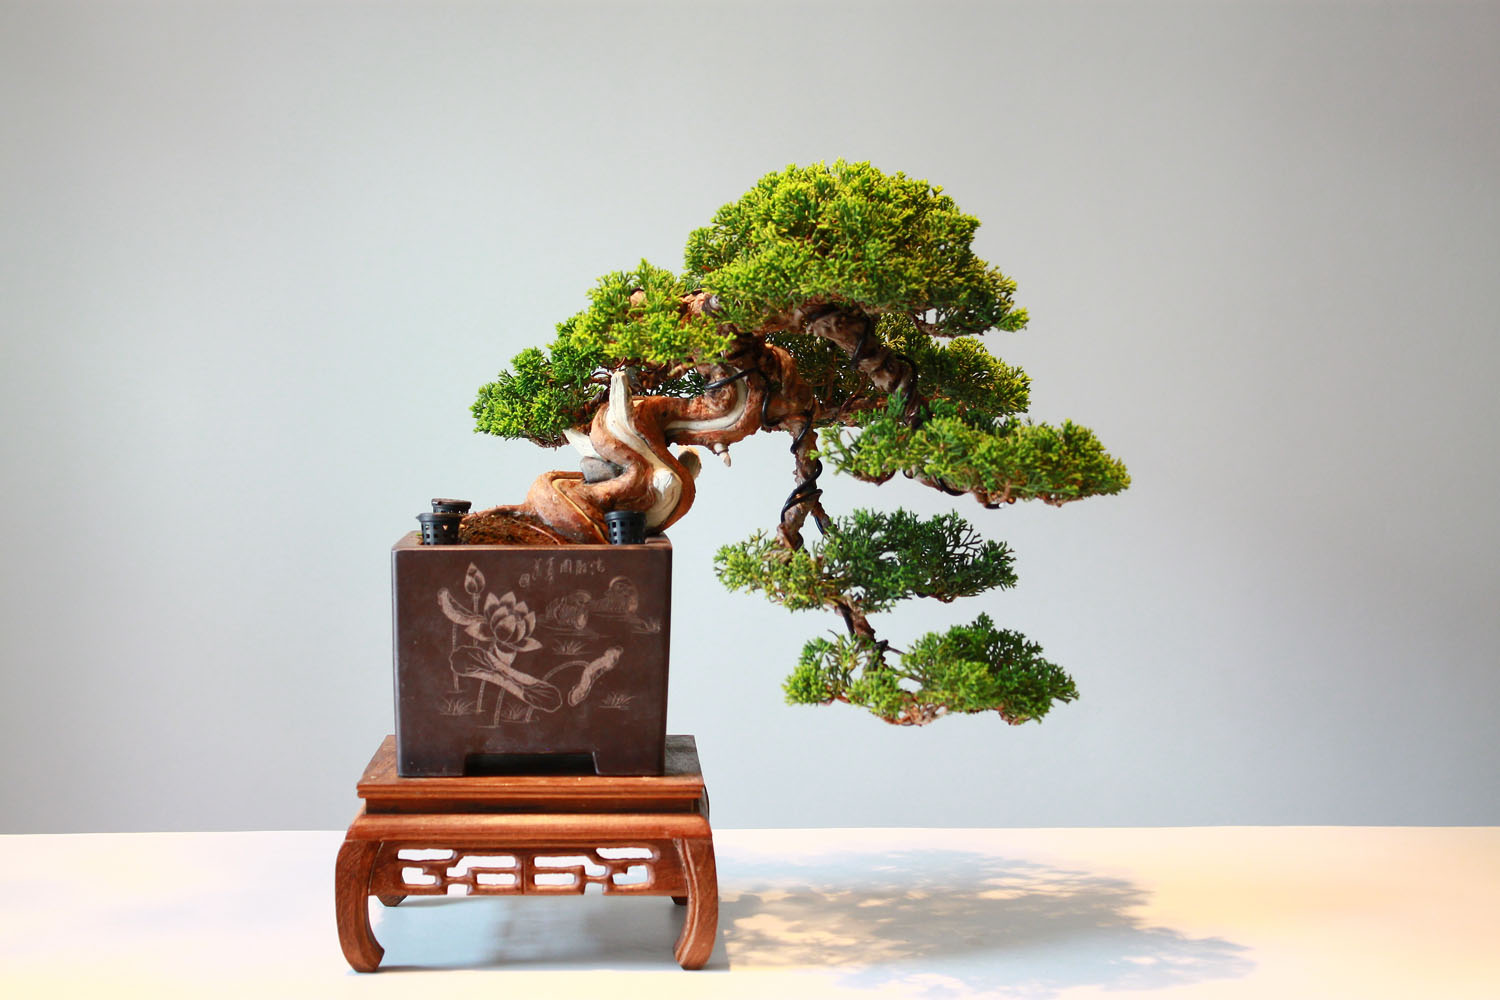
4. Bonsai
The Bonsai are a form of miniature trees. They count. This ancient Japanese art (dating from 7th ct. b.c.), once practised by the nobility of the far east, nowadays is practised all over the world. This hobby, even more than the previously mentioned, requires patience since it is not only constrained by one's skill but also by the slow growth of the plant. The caring for the little tree might take years and be only a few cuts or a well-placed wire. There are many traditional styles to choose from. The perfect thing for a patient person is the fact that this hobby is never truly finished, the tree is a living organism and there is always something to do with it.
- Details
- Written by Mateusz Robakowski
- Category: Minature collecting
- Hits: 1123
Before you can conduct the wargame or even paint your miniature, first you need to assemble it. Most miniatures do not come ready to go in the box, instead, they require you to assemble them step by step. And remember: this is not Lego! Building your miniature is much harder, but, in my opinion at least, much more rewarding.
In this article, I like to present to you how to (generally) build your figurine, step by step. Since this is going to be a general overview of the actions required to complete one, I’m not going to go into too many details. Each figurine ist different after all, especially if they come from different systems, and yet there are some universal steps that need to be taken.
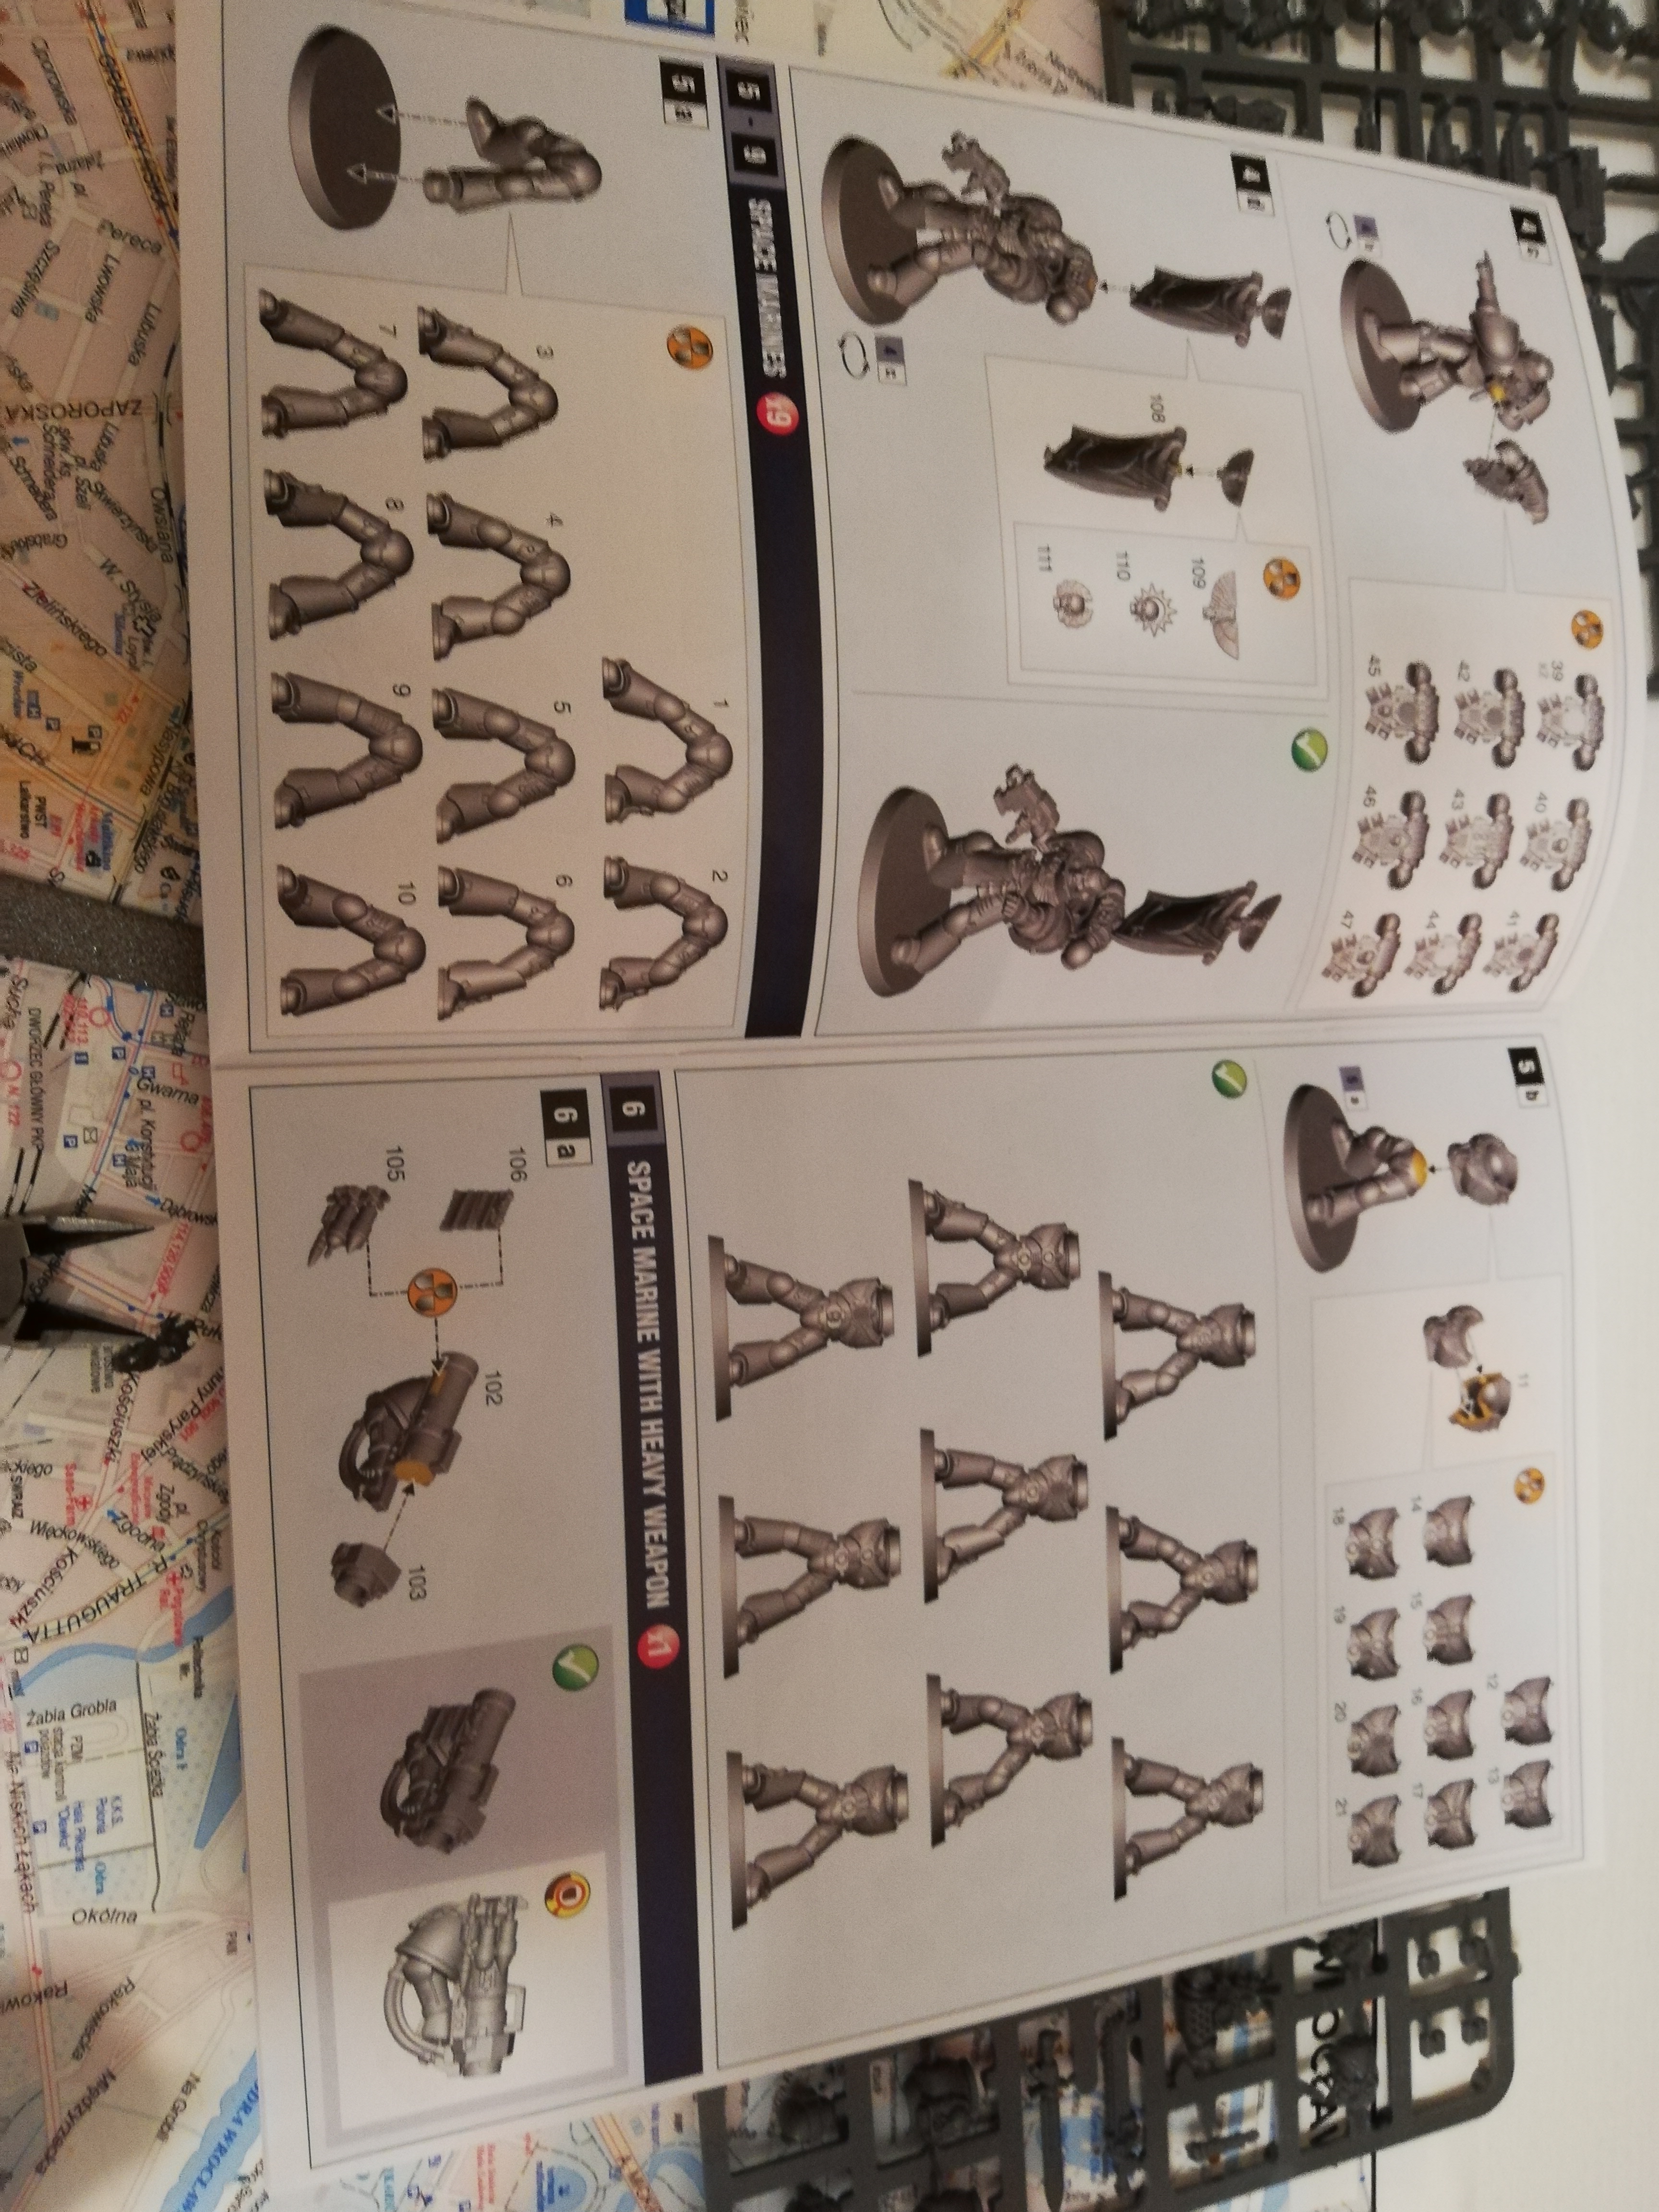
(For this guide, I’m going to be assembling GW’s tactical space marine from the “Start collecting: Space Marines” box)
- Gather your stuff!
You’ll need:
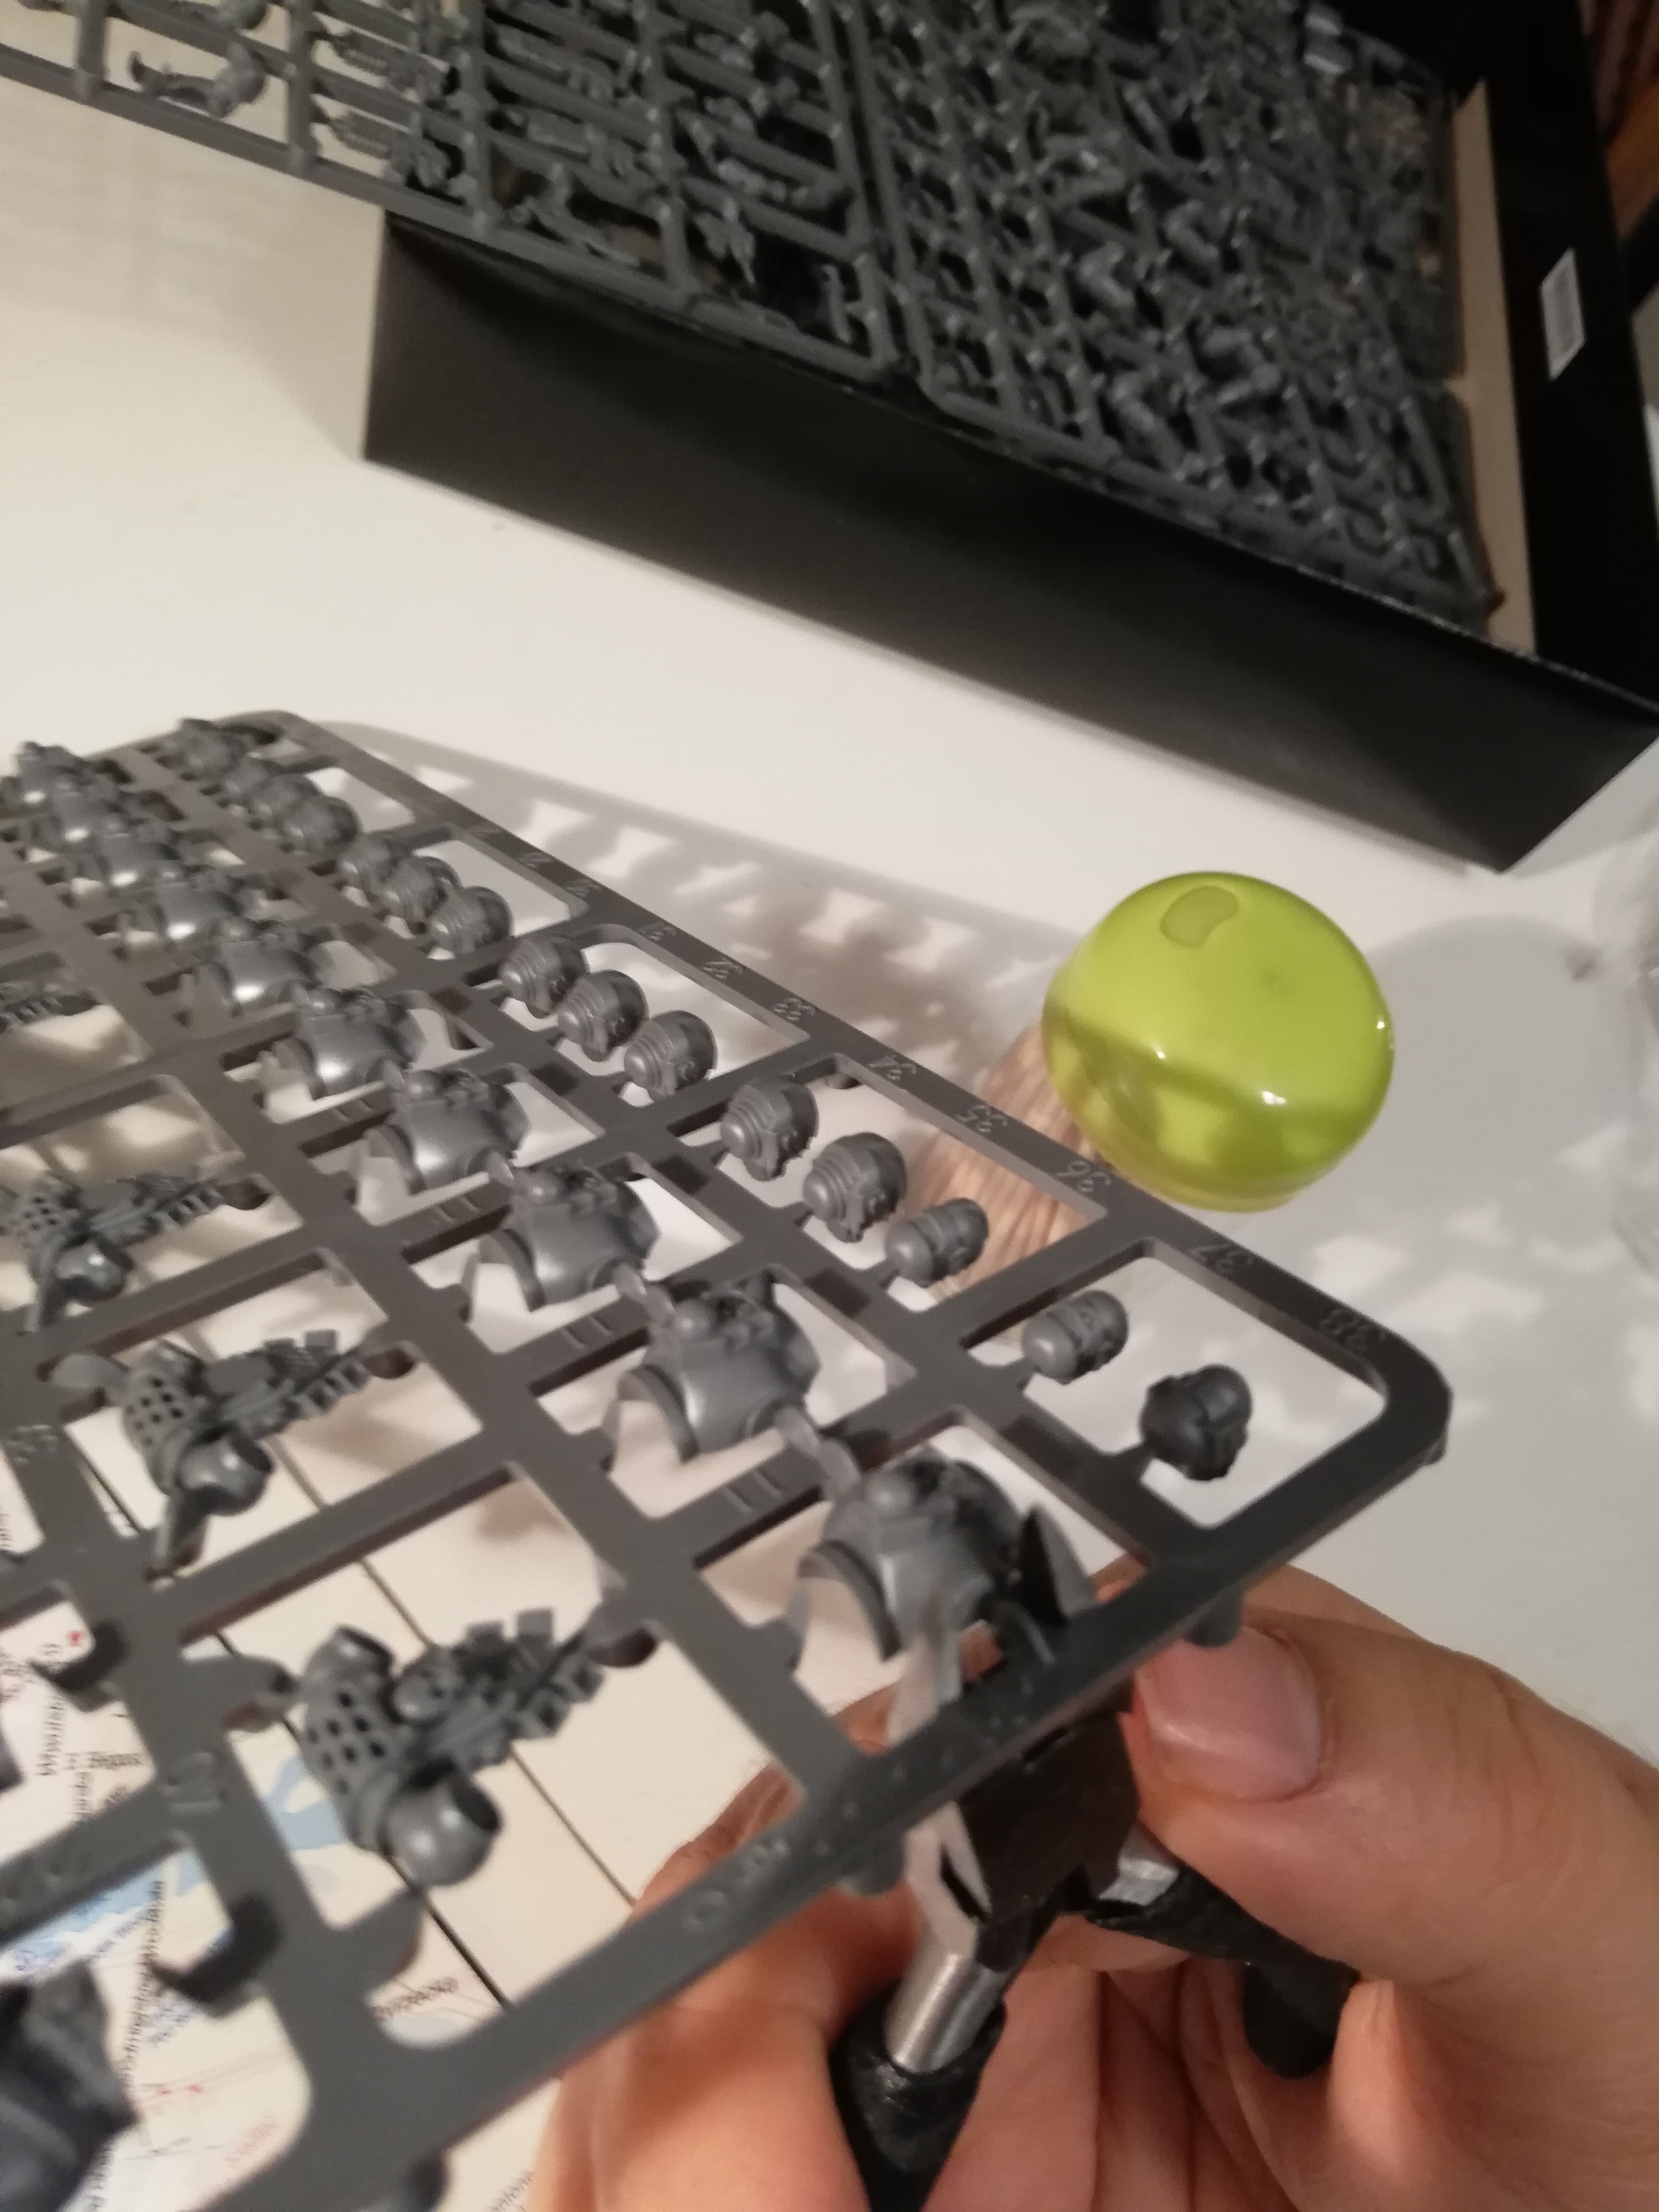
- The model (obviously) - Please note that they usually come in sprues!
- A clipper - to remove the model from the sprue.
- A file or a sharp knife/mold remover - to remove any remains of the spurs and the mold lines left after the casting of the figurines (this second part I would call optional, they bother some more than others)
- Some kind of glue - Citadel Plastic Glue works best for plastic, everything else is best covered by Super Glue.
- An assembly instruction - usually comes with the model. You generally want to follow that. But don’t be afraid to get creative!

- Read the instruction carefully!
Even If you are not going to follow it 100% of the time (as I often do), it is good to acquaint yourself with how the figurine should be assembled. Also, it is likely that the parts of the figurine are listed there and knowing this will help you keep track of everything.
- Cut out the parts that interest you
This obviously means the parts of your figurine. Some people cut them out as they need them, whilst assembling but for a beginner, I would recommend cutting all the necessary parts upfront. Consult the instructions to get an idea about which parts you’ll need.
When cutting, try to get the flat edge of the clippers next to the part itself so there is the least amount possible of the plastic holding the part to the sprew. But there is almost always some. To remove the leftover, unwanted plastic use the file or a sharp knife. Or you can just cut it with a clipper. But be careful! You don’t want to accidentally remove some important detail on the miniature!
- Glueing the miniature together
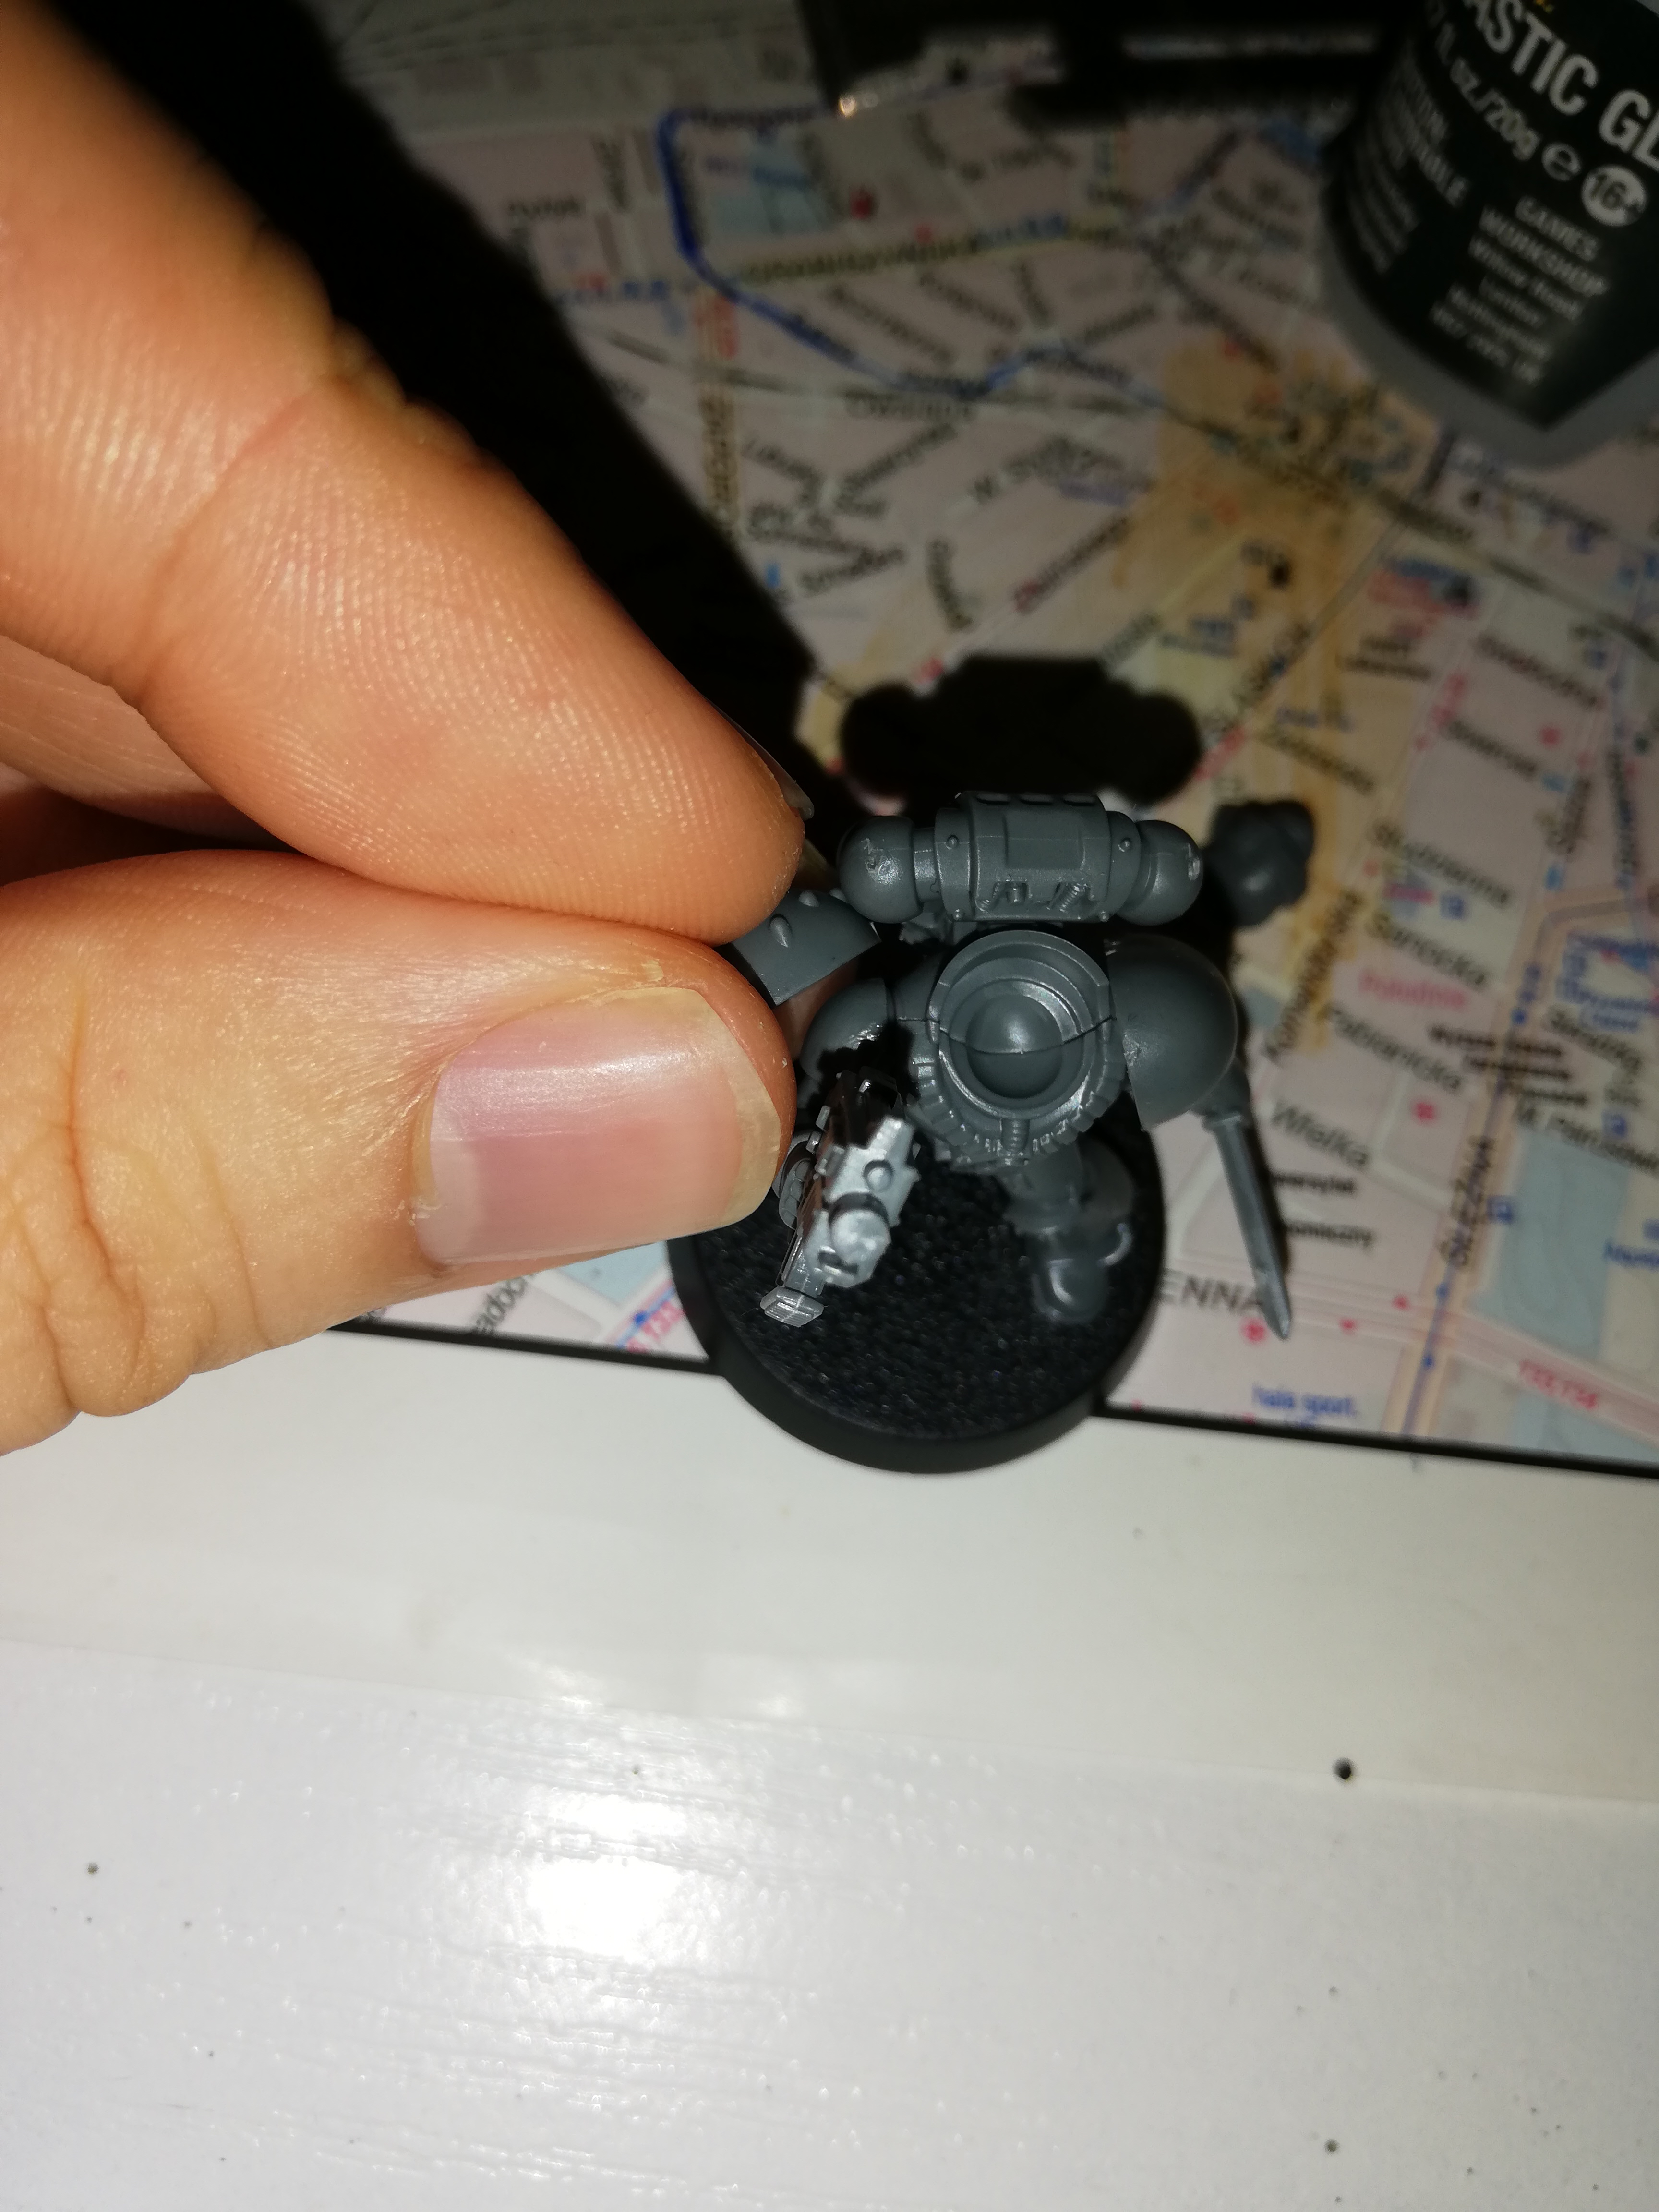
Perhaps the most important step. Once you cut and cleaned all of the parts you should then, glue them together. I recommend starting from the bottom, that is the base of the figurine. Then work your way up by glueing legs and the torso. When using the plastic glue, be very careful not to spill any on yourself. This form of glue is basically a weak kind of oxygen activated acid and it might burn your skin. It works by melting two pieces of plastic into one. For the same reason try to be as neat with the glue on the miniature itself - if the glue spills on the places you do not want them to it is not going to look pretty.
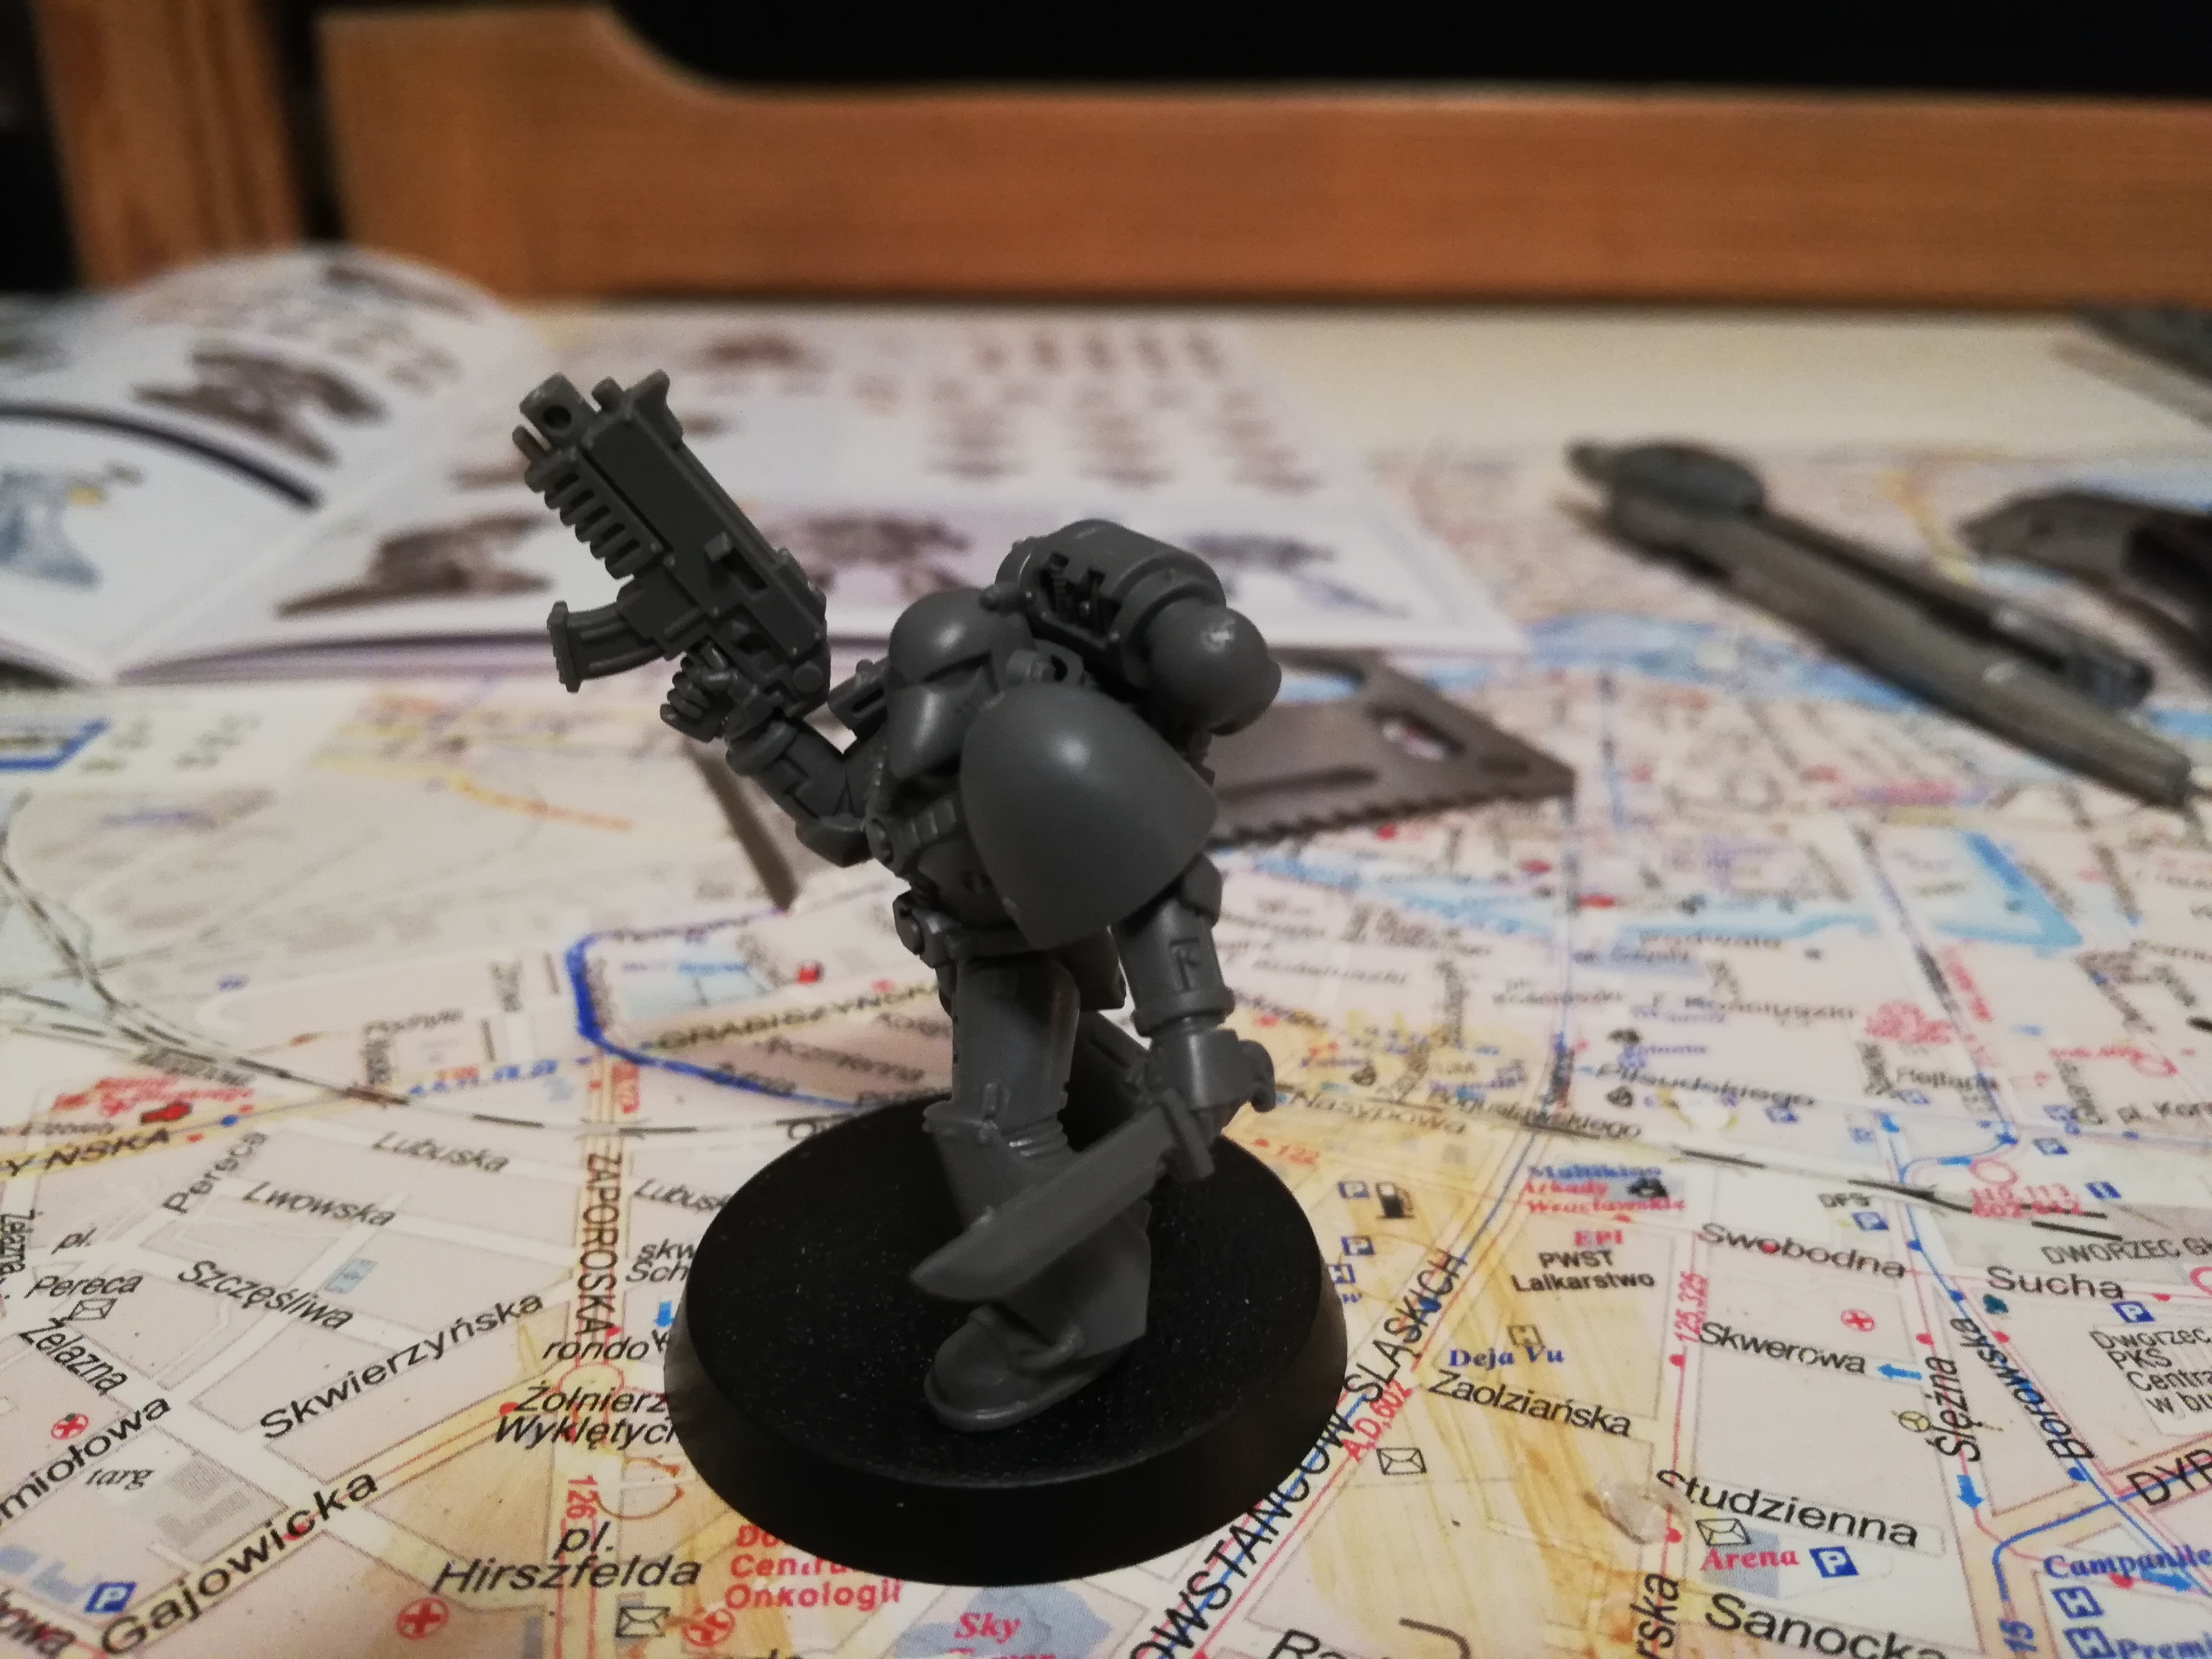
Once you are done with the torso, most of the time all you need to glue are the arms and the head. You might want to try different poses before glueing those parts as once they are set, you won’t be able to move them any more. In the case of my marine, I had to glue the arms first as I wasn’t sure if the head wouldn’t collide with them in the position that I wanted it to be in, but you might do it the other way around, no problem.
When you are done with the main body there might be an assortment of additional details that you might want to add to your soldier, like additional bags, grenades or some icons. Check the sprue if it doesn't hold any such minor pieces and then add them to your figurine. Or don’t. It’s your choice after all.
- All done!
Congratulations! You have finished your miniature, no doubt first of many. Before you finish, take a long, careful look to enjoy the good work that you have done (or find anything that you might want to fix). Your miniature is ready for painting and after that for battle!
Page 5 of 8
- You are here:
-
Home

- All